Build a Bridge
Your child will test the different materials and predict which bridge can hold the most weight.
Materials
Directions
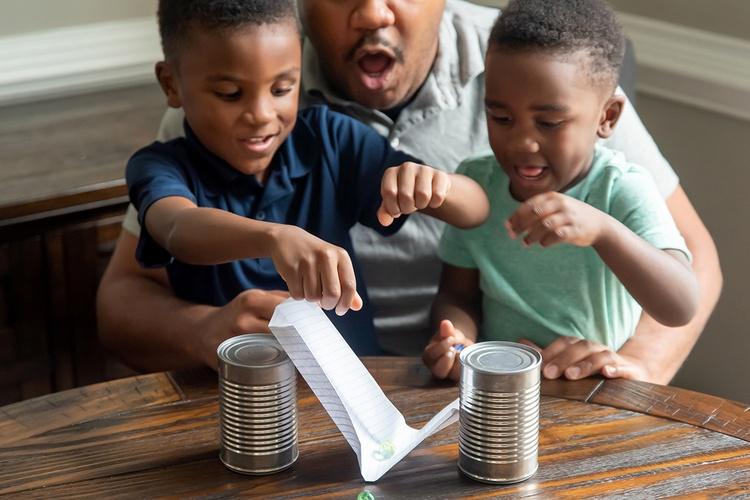
Cut all of the materials to be the same size, about 11 inches long and 8½ inches wide. Set up two testing areas on a table. TEST AREA 1 should have one sheet of each material. TEST AREA 2 should have folded bridges, weights, and objects to support the bridge.
To create the bridges, fold one of the materials in half lengthwise to make a double layer. Then, fold up each edge of the paper to make a U shape. Crease the folds so the paper keeps the U shape. If needed, use tape on the edges to keep the shape.
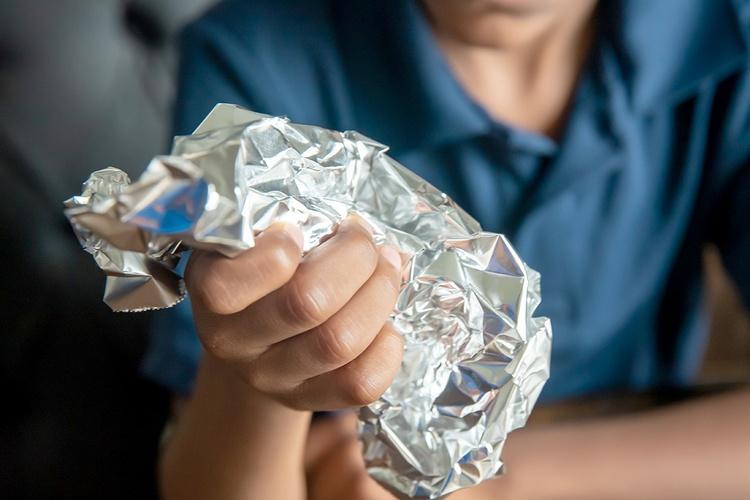
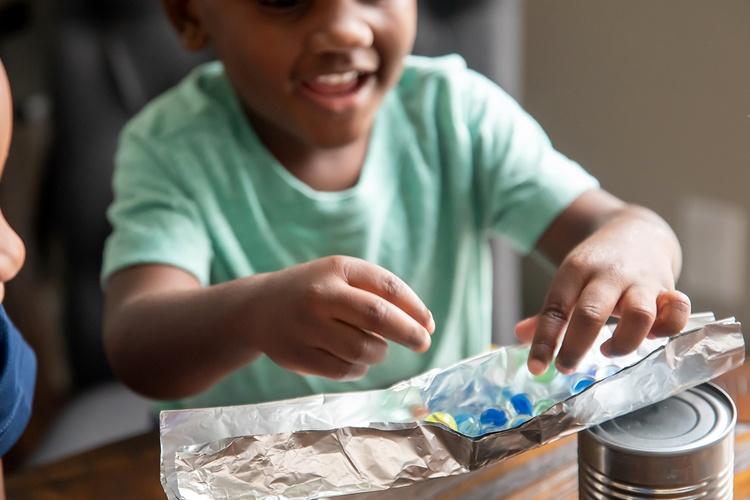
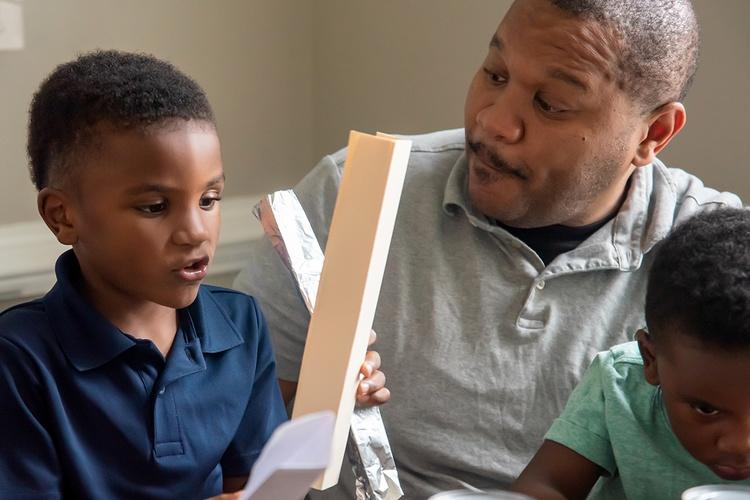
Encourage your child to observe and test the different materials at TEST AREA 1. Your child can bend, rip, and crumple each material. Ask your child to predict which material can hold the most weight.
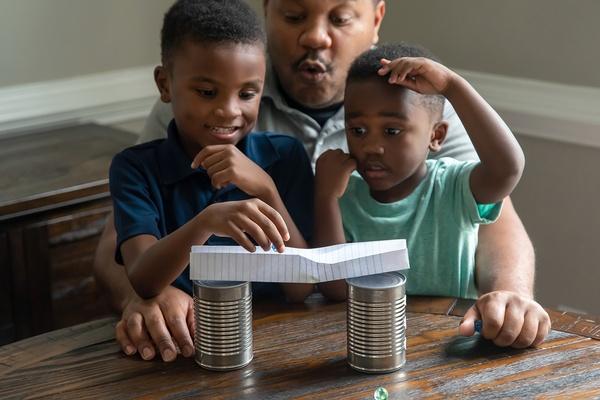
Your child can choose one type of bridge at TEST AREA 2. Ask your child to put the bridge across the two objects of the same height. Ask your child, "How will you know when the bridge breaks?" Show your child how to place the weights carefully all the way across the bridge.
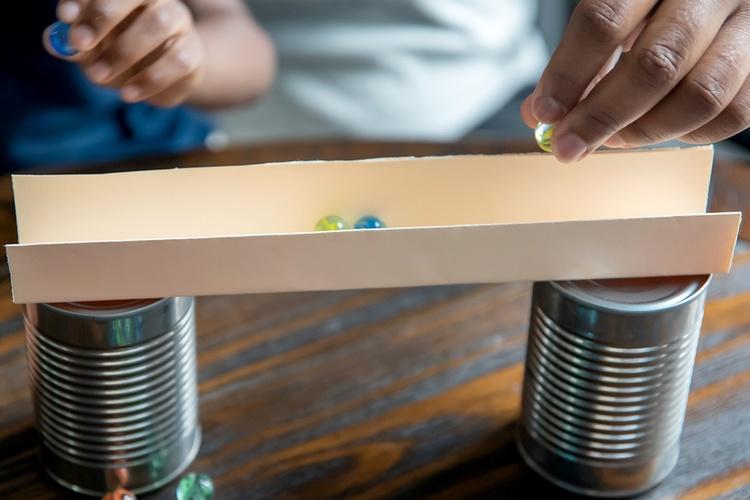
Your child can place more weights on the bridge until the bridge breaks. Count how many weights were on the bridge when it broke.
Then your child can test the rest of the bridges the same way.
Ask your child to talk about what they observed during the bridge test. Encourage your child to explain which material made the strongest bridge.
We hope you had fun together! Snap a photo of you and your child doing the activity and share it with us on Facebook, Instagram or Twitter. We’d love to see how it turned out!
Want more “Hero Elementary” activities? Check out the Sounds High and Low activity and the Lid Top Slide game to continue the fun!
Photographs by Nikki Brooks.