
Build Paper Polyhedrons

From their many gadgets to each department’s logos, The Odd Squad frequently finds and uses 2-dimensional (2D) and 3-dimensional (3D) shapes to help solve their investigations. In this activity, your child will fold and glue paper to build 3D shapes while learning math vocabulary.
Materials
Directions
Before you begin, introduce your child to two key words:
Polygon: a 2D shape that is made out of straight lines, such as a square or triangle
Polyhedron: a 3D shape with flat sides that are made up of polygons, such as a cube or pyramid
Choose a paper polyhedron template: a tetrahedron or a dodecahedron. (Tip: The tetrahedron is recommended for younger children.)
Load the paper or cardstock into your printer and print the polyhedron template of your choice. Cut out the shape using your scissors or utility knife.
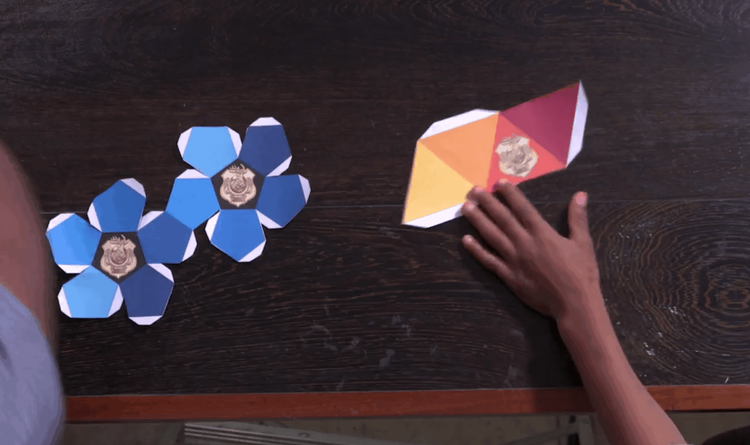
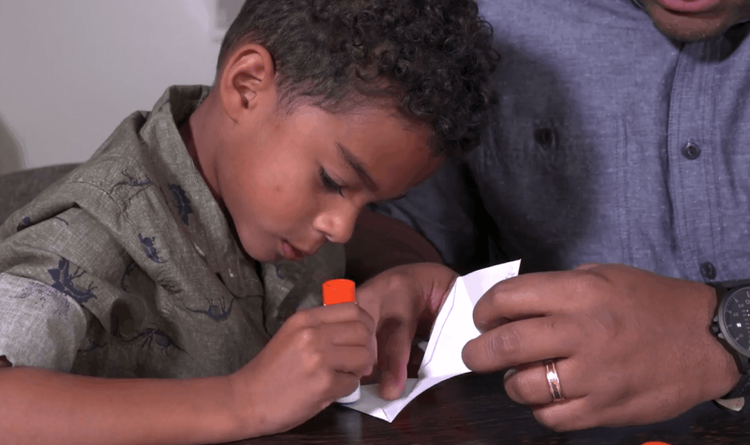
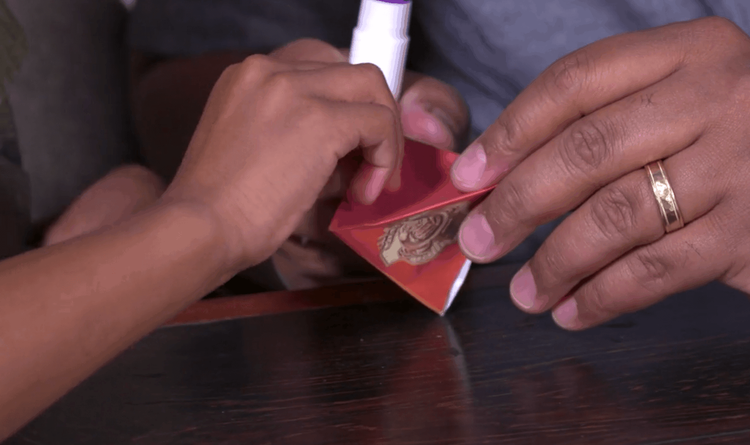
Partially fold all of the edges and tabs on the lines to preview how the shape will form. One at a time, apply glue to a tab and then connect that tab with the corresponding polygon, according to the template. You might need to hold it for up to a minute.
Once you’ve glued all of the tabs and the glue has dried, you will have a 3D polyhedron. Use it to decorate your child’s room or desk, or to make a hanging ornament!
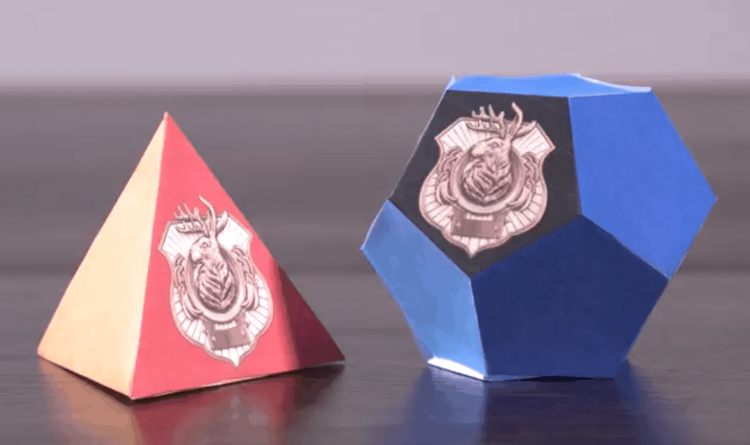
After you’ve finished, take a closer look at your polyhedron. How many faces (flat sides) does it have have? What shapes are the polygonal faces?
Explore Further
In this activity, kids turned a 2D template into a 3D shape. Now reverse the process! Have your child choose an object in the house with a distinct shape — such as block structure or kitchen tool — and make a 2D drawing of it.