
Daniel Tiger Finger Puppet
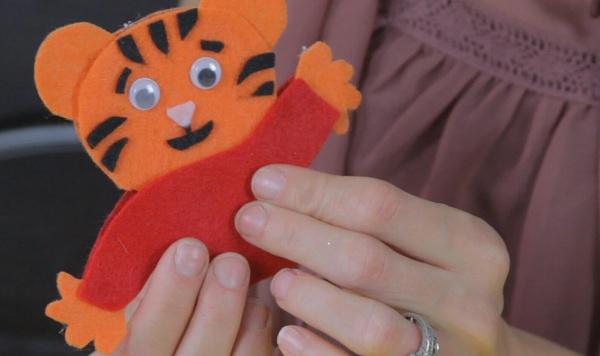
Inspire your child to put on a puppet show by crafting this Daniel Tiger finger puppet.
Materials
Directions
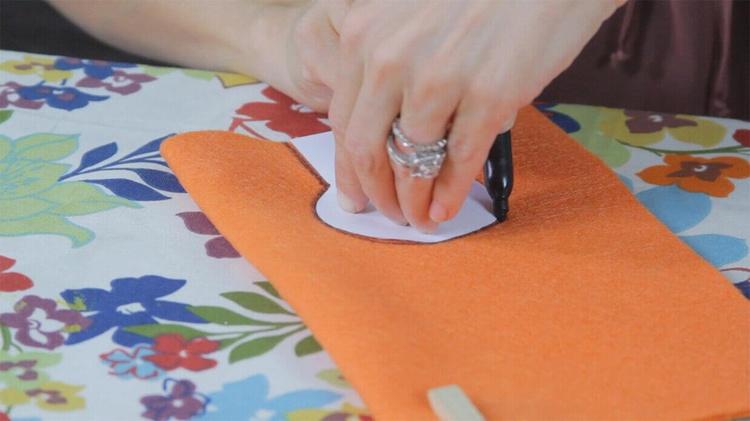
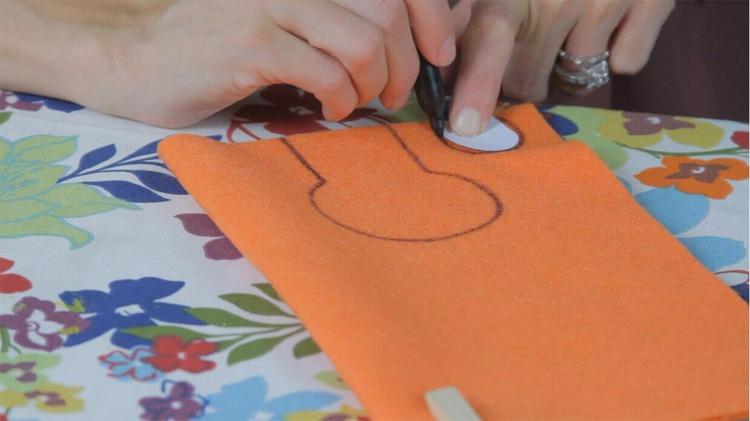
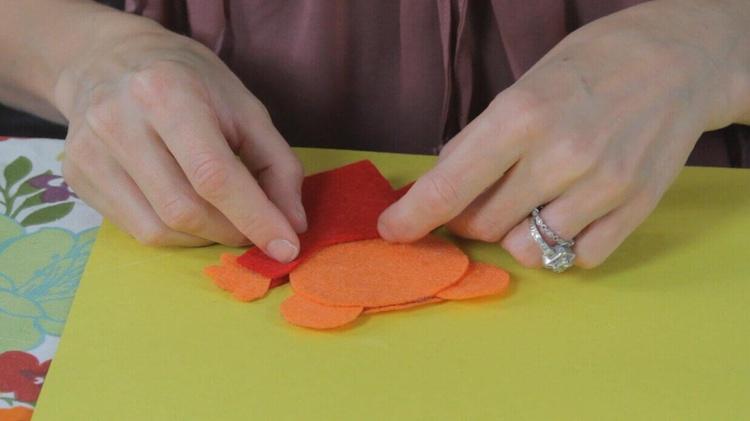
Print the Daniel Tiger finger puppet template. Place the template for Daniel’s body onto a piece of orange felt folded in half. Trace the template with a black marker. Cut out the shape so that you have two matching pieces.
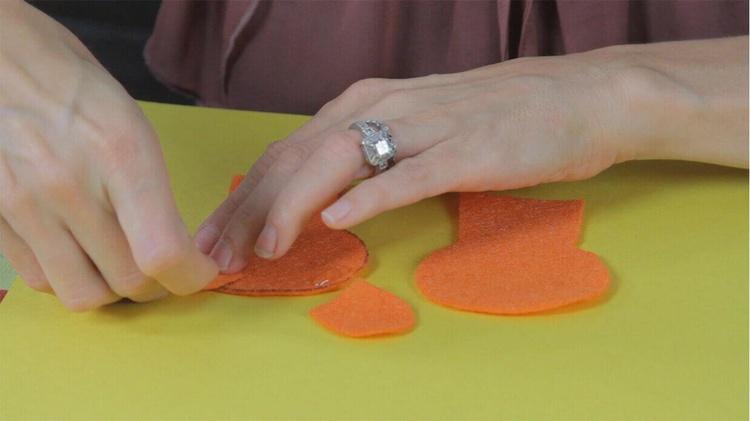
Use the template to cut ears and hands out of the remaining orange felt.
With your glue gun, adhere the ears to the front of one of the matching pieces of Daniel’s body. Then glue along the inner edge and adhere the matching pieces together.
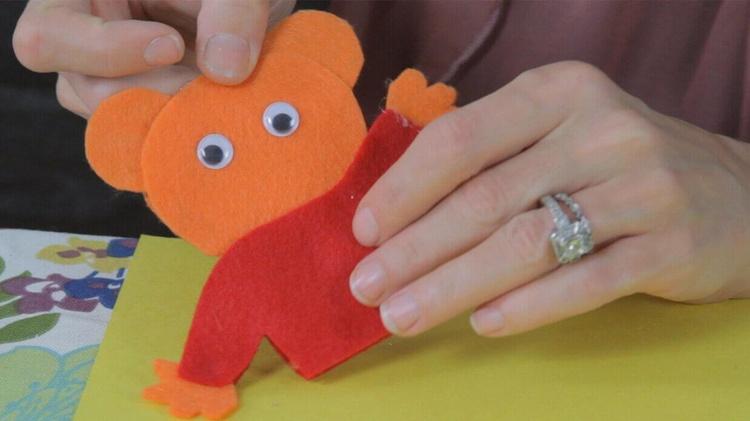
Trace and cut the template for Daniel’s hoodie on a folded piece of red felt. Once cut you will have two matching pieces. Hot glue the hands to the front of the armholes on a hoodie. Hot glue the red hoodie pieces to the front and back of the Daniel puppet.
Stick two googly eyes Daniel’s face.
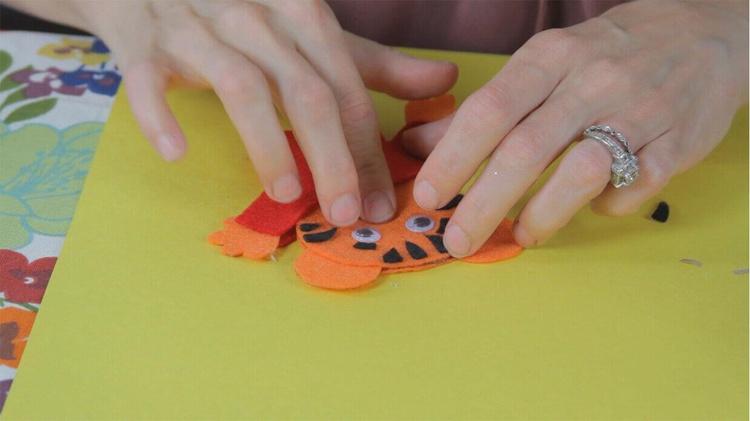
Using adhesive-backed black felt, trace and cut out four small tiger stripes (two on each side of Daniel’s head) and three stripes for the top of his head. Repeat the process for Daniel’s eyebrows and mouth.
Cut a small pink felt triangle for Daniel’s nose.
Adhere all of the facial features to the front.
Place your Daniel Tiger finger puppet into the trolley tea box.