Easy DIY Pinch Pots
Tiny pinch pots are great little presents that your kids can make and proudly hand out as gifts during the holidays!
Materials
Directions
Roll a small amount of clay into a ball. Tip: If your clay seems a little dry and not as soft as you'd like, dip your fingers in a little water and begin kneading the clay until you have the desired softness. You'll want your clay soft and moldable, but not wet.
Using your thumb (smaller children may need help from an adult with this part), press into the center of your ball of clay and form a deep indentation.
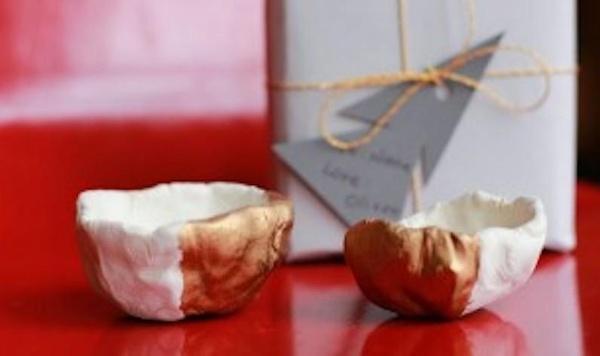
Begin pinching the clay all around the center dent. Continue pinching until you have formed a bowl shape.
Once you have achieved the desired shape, set your clay pinch pot aside to dry for 24 hours.
Once the pinch pot is completely dry, have your child paint it any way she wishes using acrylic paints.
Caroline Gravino Urdaneta, a PBS Parents resident crafter, is a designer of creative family projects, tinkering painter and mother of four children. She writes about project ideas for the whole family and how to encourage creativity in kids on the popular blog, Salsa Pie.