How to Make Sidewalk Chalk
From hopscotch to street art, sidewalk chalk opens up a world of ways to play! It will take three days for the sidewalk chalk to become hard enough to use. So, be sure to explain to your child that she’ll need to be patient!
Materials
This recipe makes about three tubes of sidewalk chalk.
Directions
Help your child cover one end of each tube with duct tape. Tell her that this will help keep the chalk material inside of the tube.

For each tube, cut a piece of wax paper into a 6” X 6” piece. Roll each piece of wax paper loosely and insert it into a tube so as to effectively line the tubes. The top of the paper will be higher than the end of the tube. Ask your child to guess why the wax paper is going inside of the tube. If she needs help, explain that the liner will keep the chalk mixture from sticking to the cardboard. Eventually the liner will be peeled off.
Explain to your child that plaster of paris is a white powder that, when mixed with water, forms a paste that gets very hard once dry. Pour the warm water into your bucket. Sprinkle the plaster of paris over the water and ask your child to carefully stir the mixture with a plastic spoon. After about 20-30 minutes, the plaster of paris will start to harden, so she’ll need to work quickly.
Next, have your child pour the tempera paint into the plaster of paris mixture and stir until it is mixed thoroughly. Ask her, “What do you think will happen if we add more paint to the mixture?” (It will make the color brighter.) If you want to make a variety of colors of chalk, spoon about ½ to ¾ cup of plaster of paris into separate containers and mixed different tempera paint colors into each.
Stand each tube with the tape side down on a cookie sheet, flat baking dish, or box lid to make the project easier to transport to a drying location. Pour or spoon the colored plaster of paris mixture into the wax paper-lined tubes. Show your child how to lightly tap the sides of the tubes to release the air bubbles. This will prevent holes from forming in your chalk.
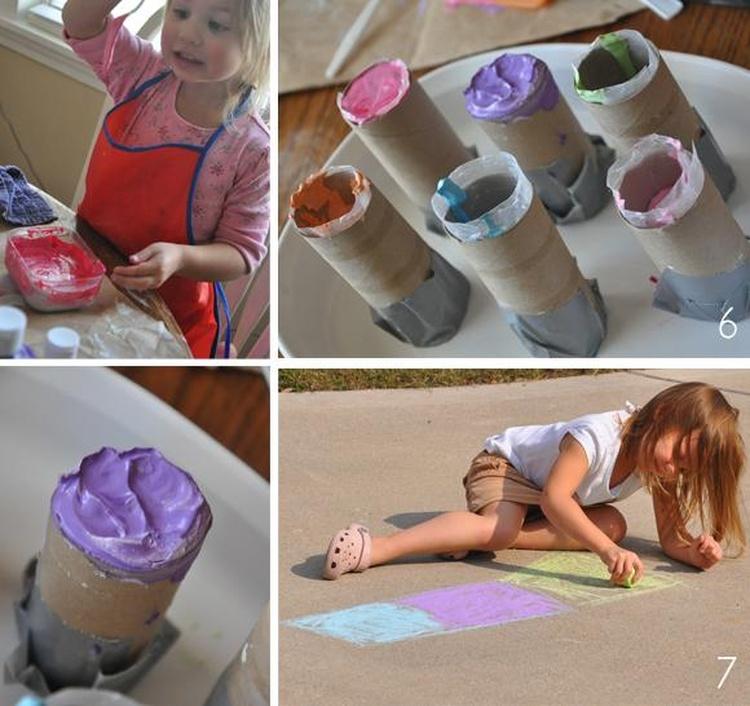
After pouring all of one color into the tubes, start another color. When done, trim the excess wax paper so that it is closer to the cardboard tube. Transport all tubes to a room where they can remain undisturbed. Remind your child that it will take three days for the chalk to dry.
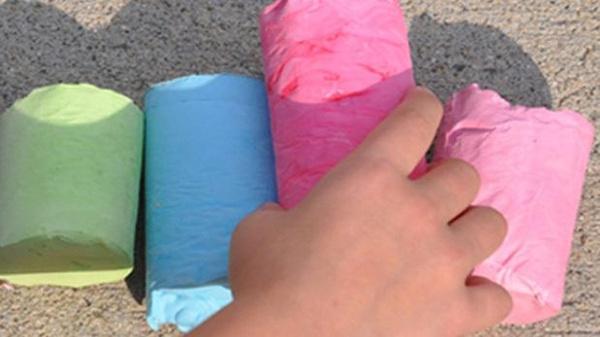
On the third day, peel off the duct tape, so that the underside can dry. When the chalk is all dry, peel off the paper tubes and wax paper. The chalk is ready!
Michelle Vackar is a mother of two daughters who loves to create handmade projects. As owner and writer of Hi Mamma, Michelle creates eco-friendly items that are centered around the home and children. Whether creating new projects, “experimenting” with different art mediums or embarking on learning activities with her daughters, her work promotes creating, learning and sharing.