
Make an Igloo
The Inuit are Native people of the cold Canadian Arctic. They first built igloos as temporary shelters for long hunting trips. What do you think it would be like to sleep in a house of snow for the night?
Materials
It's Igloo Time!
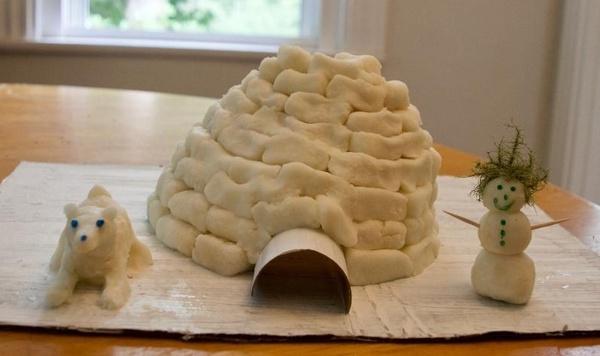
An igloo is a shelter made of snow and ice. It keeps the heat in, and the cold wind and snow out. No snow? No problem! You can build a model igloo using clay.
To make a sturdy base for your igloo, cut out a piece of cardboard from an old shipping box (the piece should be wider than your bowl). Cardboard can be tough to cut so ask a grownup for help.
Paint the cardboard white for snow--or any other color you wish. Let it dry.
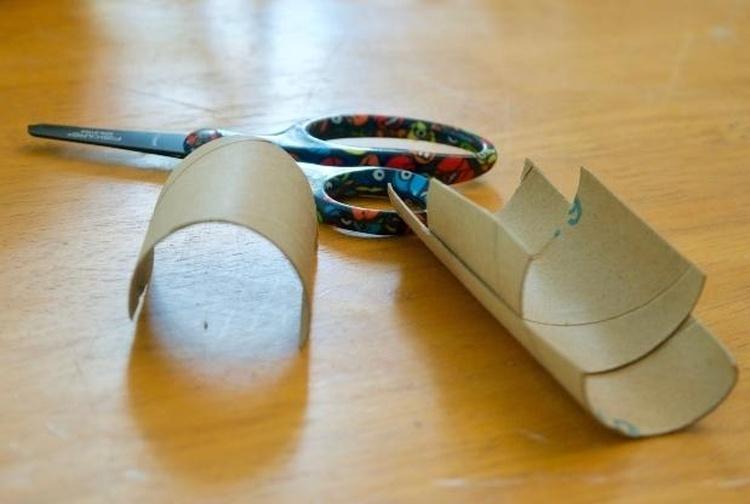
Cut the paper roll in half lengthwise, then cut it in half again crosswise to make a little tunnel. This is the entrance into the igloo. (Recycle the leftover pieces, or save them for a future art project.)
Paint the entrance white (or any color you wish) and let it dry.
While your pieces of cardboard dry, make the play dough. (Skip this step if using store-bought clay.)
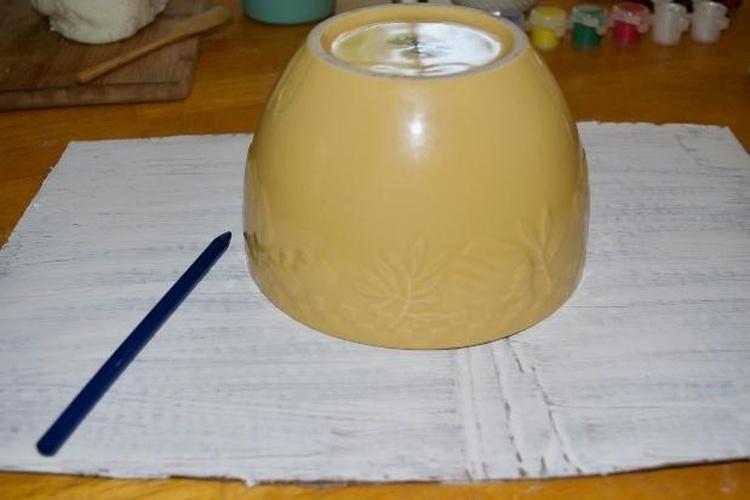
Once everything is dry, place your bowl upside down on the cardboard and trace a circle using a crayon or pencil.
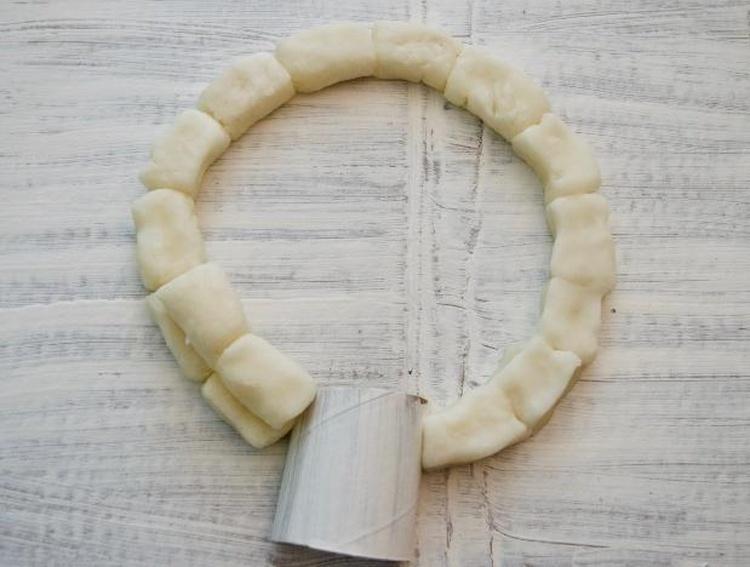
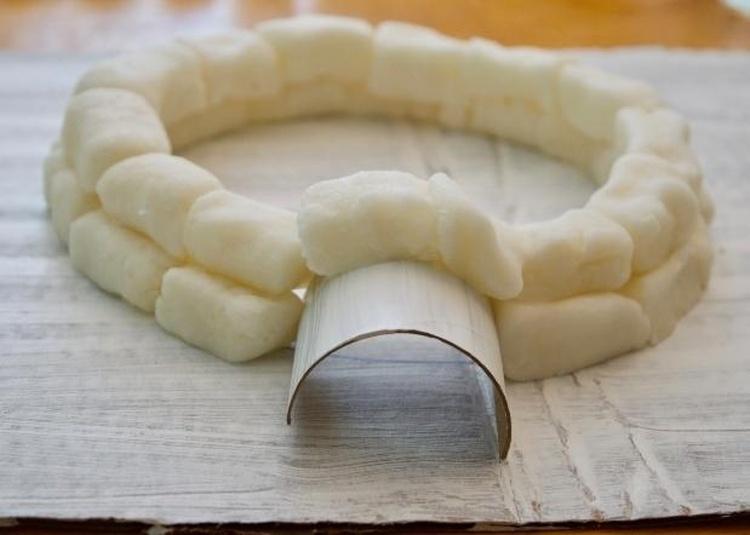
Place the entrance to the igloo on the edge of the circle. The 'snow' bricks will hold it in place or you can glue it down.

Now it's time to make the 'snow' bricks from your clay. Take a piece of clay, roll it out and cut it into sections about one inch long and one-half inch thick and wide. Shape the sections into a rectangle. Make sure to even out the edges and smooth the clay. If your clay becomes dry, spray it with water.
As you make your bricks, place them around the edge of your circle.
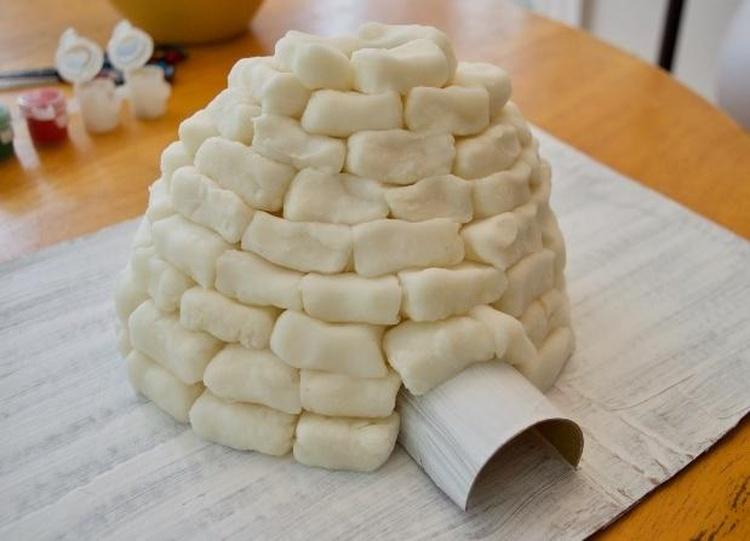
Spray the top of the bricks in your first layer a few times to keep them sticky and then add the next layer of bricks. This is the tricky part! To create the dome shape, place this next layer of bricks so that the outer edge of the bottom layer sticks out slightly. Remember to add bricks over your entrance.
Continue to add layers until you have reached the top, placing each layer slightly more inside than the last. Leave space at the top for air to enter and escape-just like a real igloo!
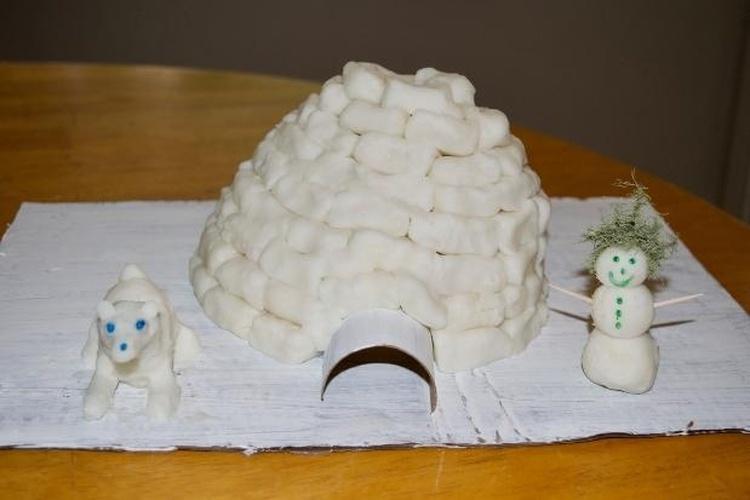
Make a scene for your igloo with your favorite Arctic animals, such as polar bears. (But remember, there are no penguins in the Arctic!)
Tips for Success
- Check out images of real igloos for ideas before you build your model.
- Keep your clay moist, so it stays sticky and smooth.
- Build with a friend! Take turns making the bricks and building layers.
Let's Take a Closer Look at Igloos
How can a shelter of snow keep you warm when snow feels so cold? When you wrap a comforter around you, it traps the heat your body makes. An igloo works the same way. Snow traps the air warmed from your body. You'll still need your hat and gloves, but it will feel better than being outside.
Animals use snow to stay warm in the winter, too. For example, the ruffed grouse will make a roost for the night in a small tunnel it creates when it dives into the snow. Isn't nature amazing?
Bonus DIY: Make Your Own Clay!
Materials:
- 1 1 /2 cups baking soda
- 1 cup corn starch
- 1 1 /4 cups water
Combine the dry ingredients in a cooking pot.
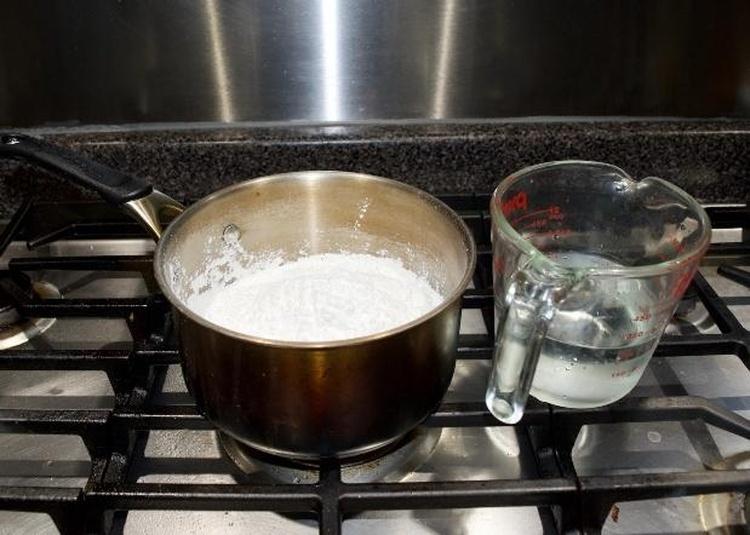
Add water.
Cook over medium heat, stirring constantly.
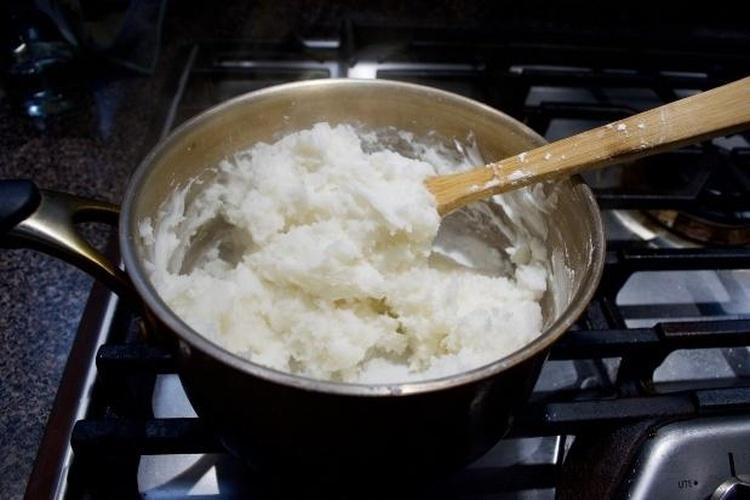
The mixture should be ready in about five minutes. It will look and act like play dough.
Let cool, remove from pot and knead into a ball.
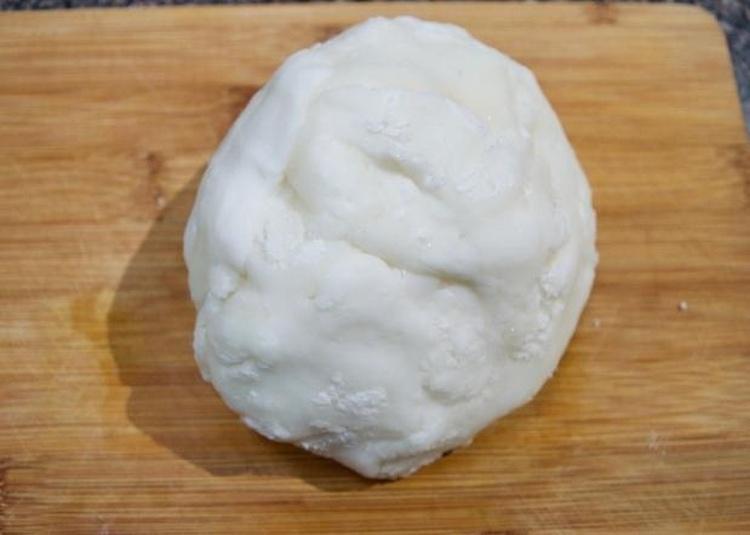
Tah-dee! You have clay dough!
We suggest doubling the recipe to make sure you have enough for your igloo. You can store any extra clay dough in an airtight container.