
Make a Moon Phase Necklace
As Mindy learns in Ready Jet Go, the moon’s shape changes in a recurring pattern — or cycle. Learn more about why the moon changes shapes from Dr. Amy Mainzer. Explore this cycle (and around your neck!) by making a necklace that illustrates the phases of the moon.
Materials
Directions
Before you begin, talk about the phases of the moon as it orbits the earth — that is, how much of the moon we can see each day. When the amount of reflected light grows, the moon is waxing until we see a full moon. When the amount of reflected light decreases, the moon is waning until it we can only see a sliver. And then the cycle starts again! It takes the moon about 28 days to orbit the earth.
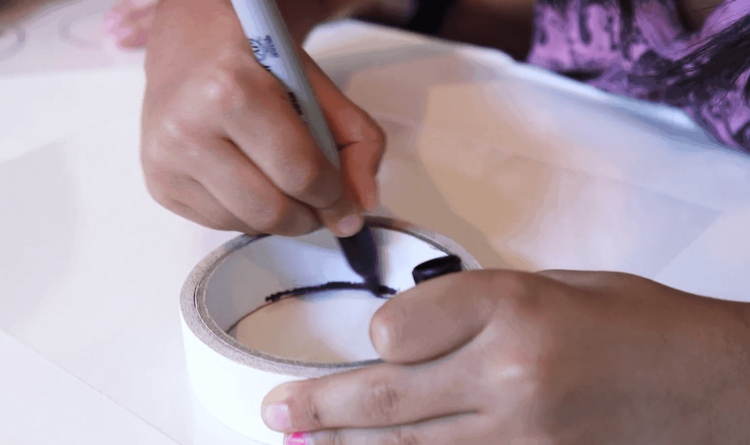
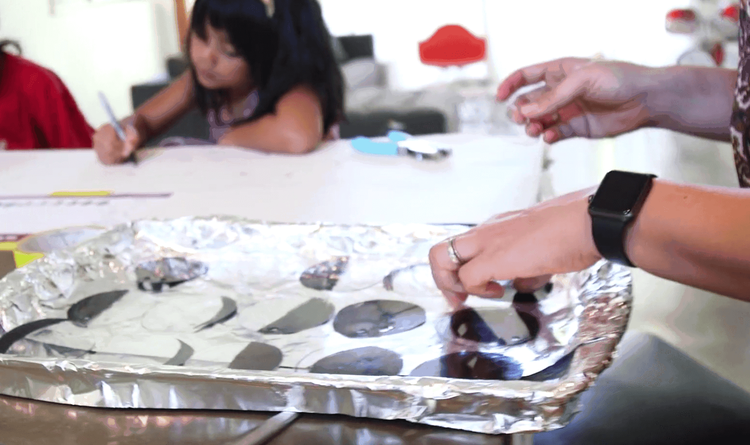
Trace eight identical circles onto shrink plastic paper using a circle template and a marker.
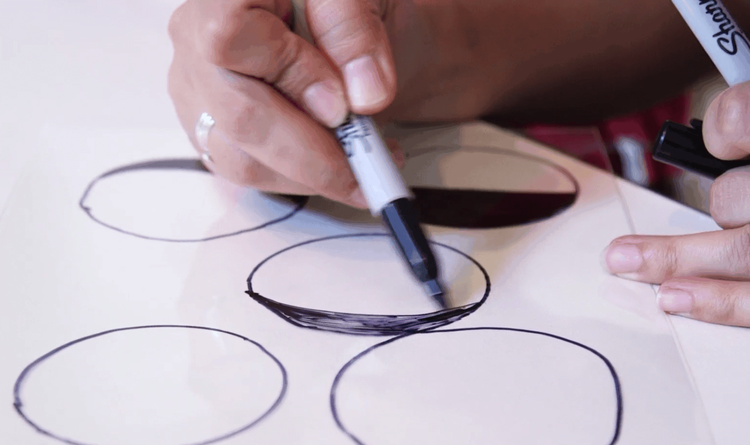
Using a moon journal as a guide, color the eight phases of the moon. Younger children may need assistance with this step.
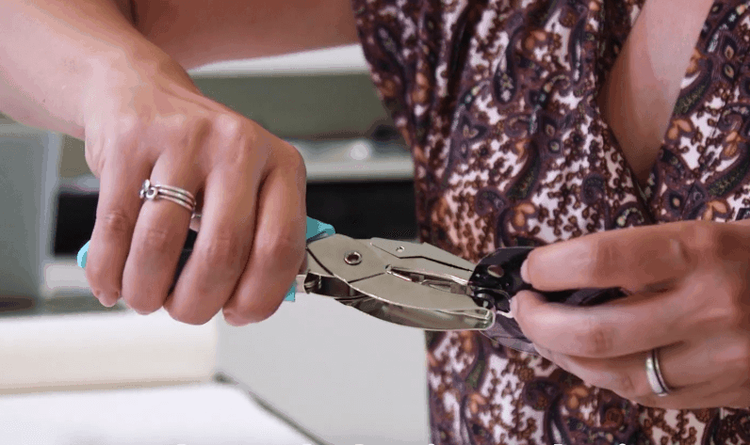
Cut out each moon and punch two holes in the top with a hole puncher.
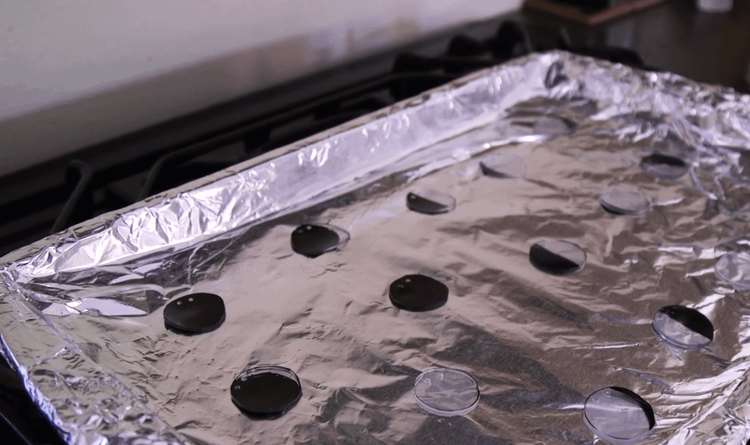
Lay each moon on a foil-covered baking sheet, and follow the instructions on the shrink plastic package for preheating and baking in the oven.
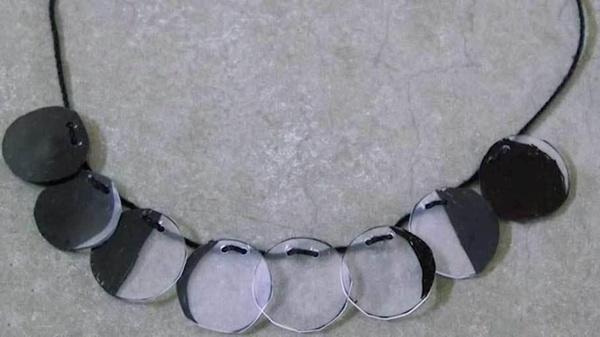
When they’re out of the oven and cooled, line up the phases in the correct order and thread string or yarn through the holes of each moon. Tie it around your neck and show it off!
Explore Further
Studying the moon is a great way to inspire your young scientist! Look at the moon over several nights. Does the shape of light we see on the moon change a lot or a little each day? Does the moon appear bigger or smaller than yesterday? Does that mean it’s waxing or waning? Consider keeping a moon journal to record your findings.