Make a Puppet: Daniel Tiger, Miss Elaina, and O the Owl
These charming “Daniel Tiger’s Neighborhood” paper bag puppets are so easy to make! With just a few supplies, you and your child can bring these beloved characters to life. Turn simple and everyday materials like paper bags and colorful paper into puppets that your child can use to play pretend, tell stories, and put on puppet shows of their very own.
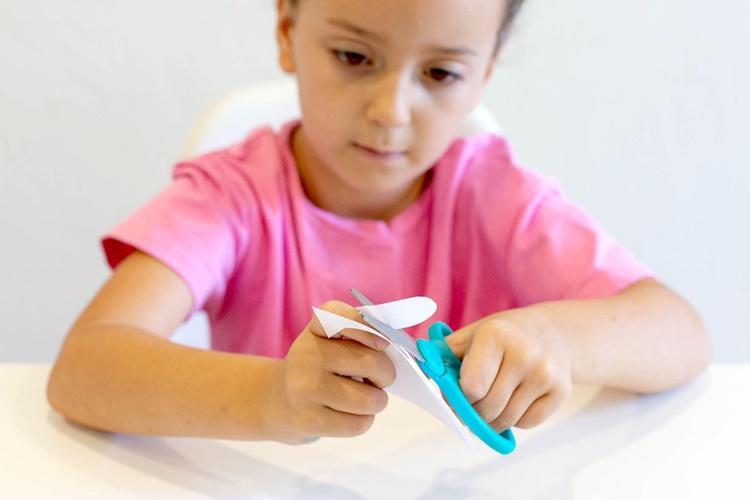
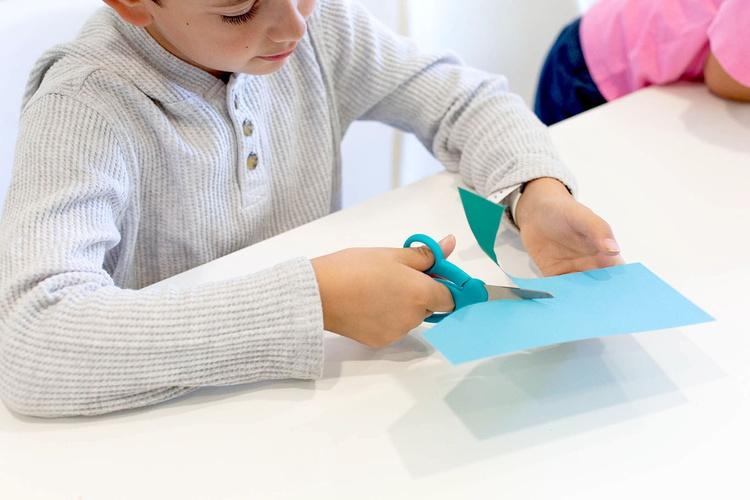
Not only do these paper bag puppets create plenty of opportunity for creative play, but they also provide a chance to work on fine motor skills like tracing and cutting. Older children can take the lead on cutting out the more detailed parts of the puppets, while younger children will love gluing and assembling the characters. As you create this “Daniel Tiger’s Neighborhood” craft, chat with your children about their favorite characters, episodes, or stories — or sing your favorite Daniel Tiger songs together! Once the paper bag puppets are finished, even more fun continues!
Materials
Make a Daniel Tiger Puppet
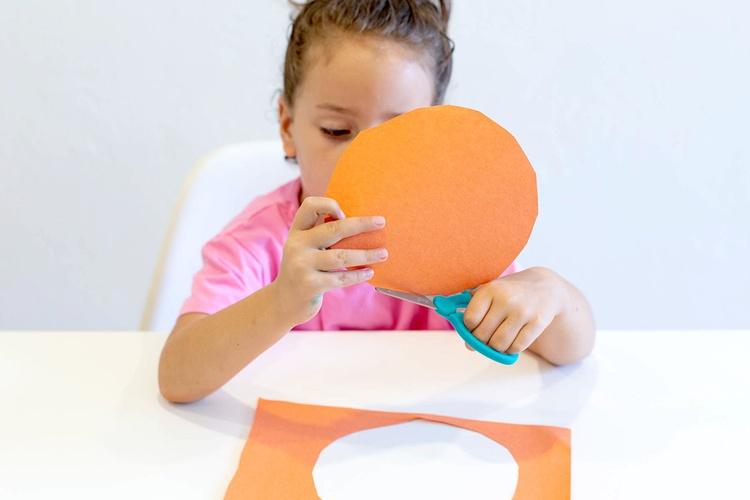
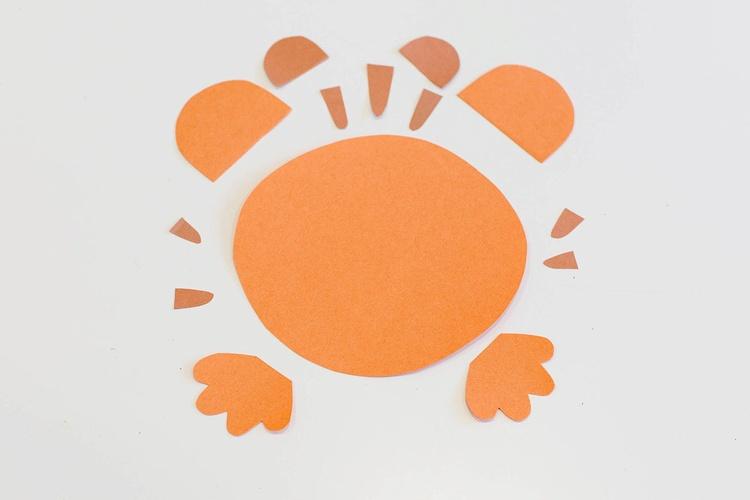
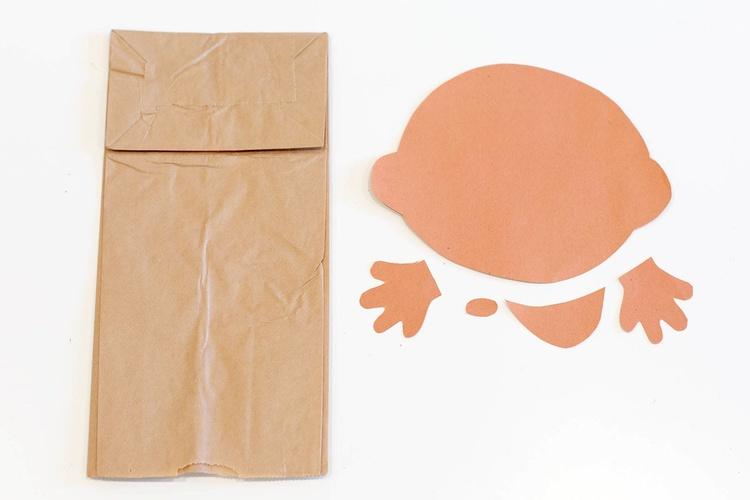
On an orange sheet of paper, draw a circle for Daniel’s face, two half circles for Daniel’s ears, and two hand shapes for Daniel’s paws. Then, cut out the shapes.
On a brown sheet of paper, draw seven skinny, rounded triangles to make Daniel’s stripes and two half circles for Daniel’s inner ears. Cut out these shapes.
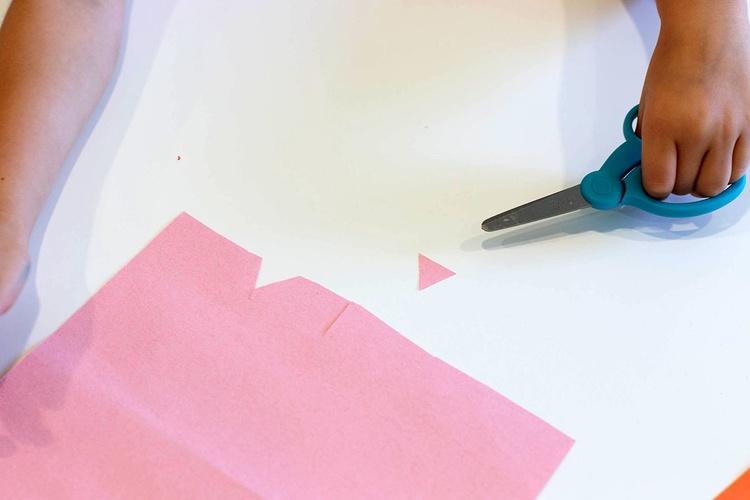
On a pink sheet of paper, draw a small triangle for Daniel’s nose. Cut out the triangle.
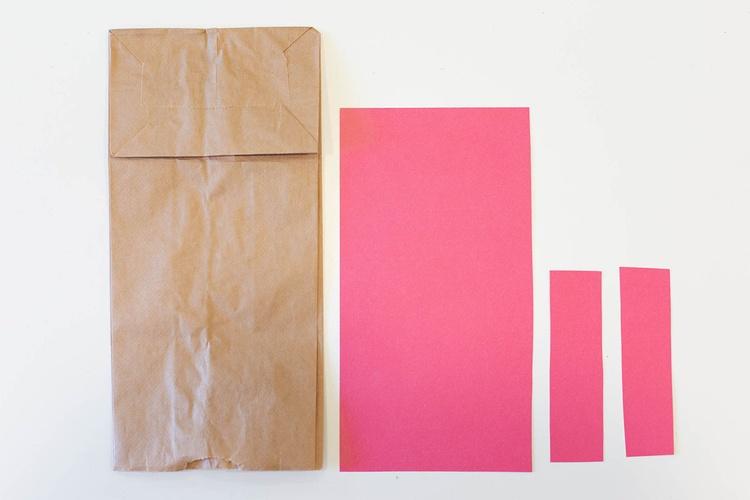
On a red sheet of paper, draw a rectangle that’s large enough to cover the lower portion of the paper bag for Daniel’s sweater. Also draw two small rectangles, which will be Daniel’s arms. Cut out these shapes.
On the white sheet of paper, draw two white circles for Daniel’s eyes. Cut out the shapes.
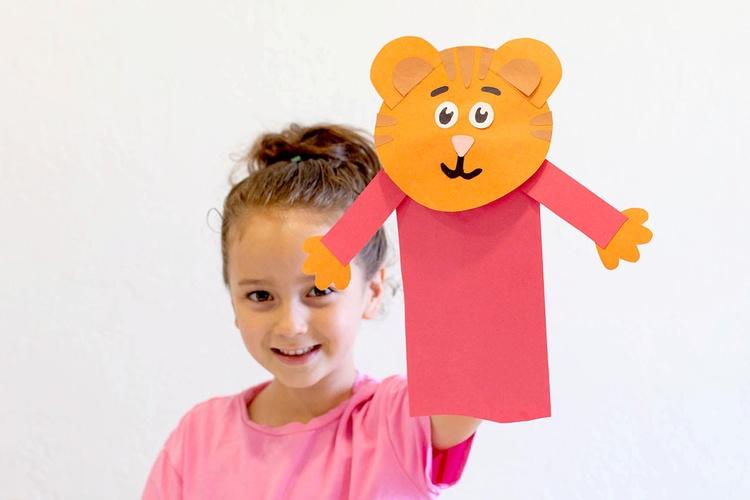
Glue the pieces together. Start by gluing the large red piece under the flap of the paper bag. Next, glue the arms under the flap so that they are angled out to the sides. Glue the hands to the ends of the arms. Then, glue the head onto the top flap of the paper bag. Add the ears, inner ears, stripes, and nose.

Use a black marker to draw on Daniel’s eyebrows, pupils, and mouth.
Make a Miss Elaina Puppet
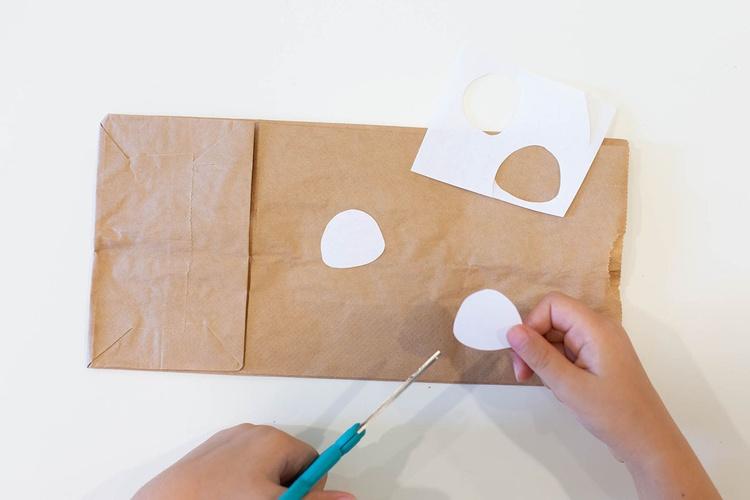
On a brown sheet of paper, draw a circle with two bumps for ears. This shape will be Miss Elaina’s face. Also draw a small circle, a small half circle, and two hand shapes. Cut out the shapes.
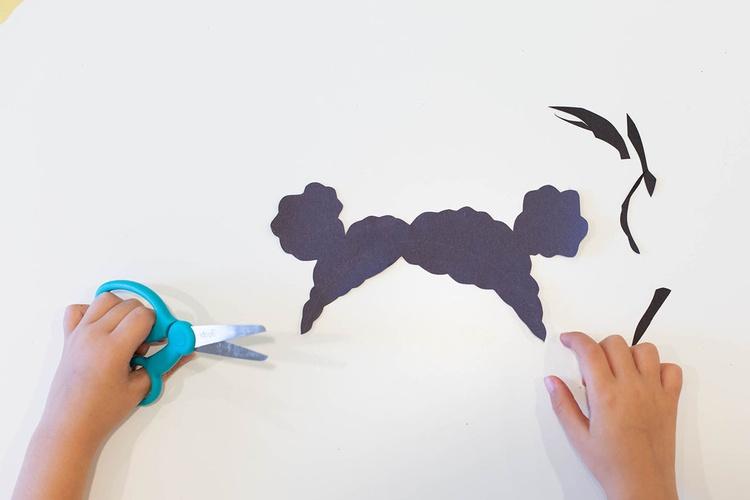
On the black sheet of paper, draw Miss Elaina’s hair. Cut it out.
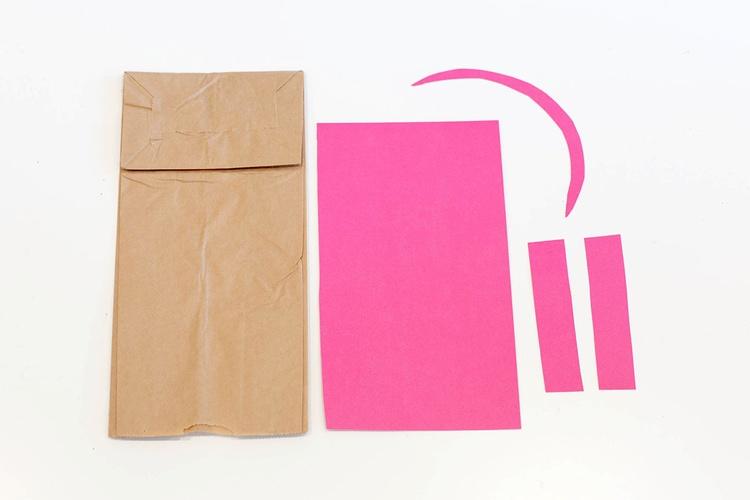
On the bright pink sheet of paper, draw a rectangle that’s large enough to cover the bottom portion of the paper bag. This will be Miss Elaina’s dress. Draw two small rectangles for her arms and a crescent shape for her headband. Cut out the shapes.
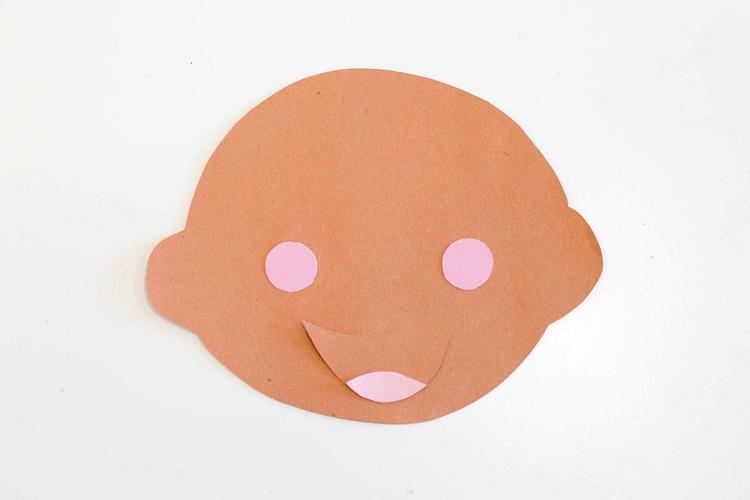
On the pink sheet of paper, draw two small circles for her cheeks and a rounded diamond shape for her tongue. Cut out the shapes.
On the white sheet of paper, draw two small circles for Miss Elaina’s eyes. Each circle should have one flattened side to create her eye shape. Cut out the circles.
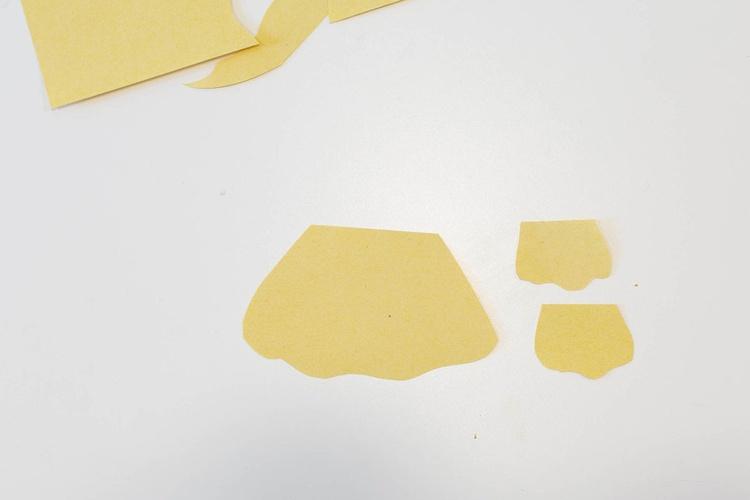
On the yellow sheet of paper, draw two small shapes and one big fluffy shape that will be used as Miss Elaina’s cuffs and collar. Cut out the shapes.
Glue the Miss Elaina puppet together! Glue the large pink rectangle onto the lower section of the bag behind the flap, and glue the arms on top of this. Add the collar, cuffs, and hands. Glue the brown circle onto the flap. Then glue on the hair, headband, eyes, nose, mouth, cheeks, and tongue.
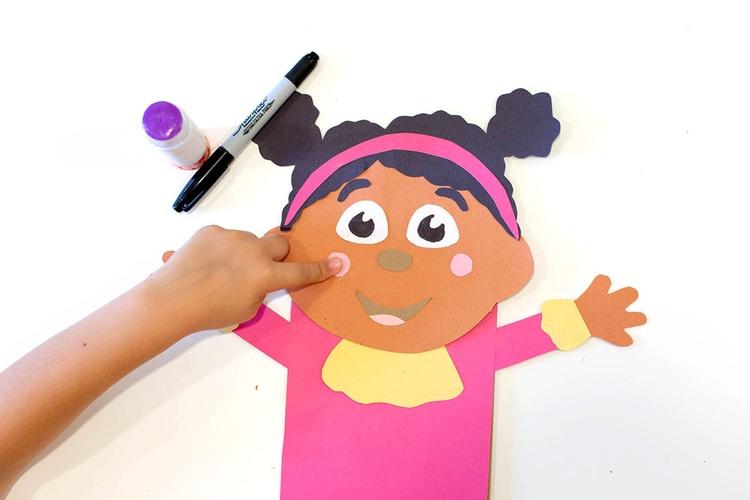
Use a black marker to draw on Miss Elaina’s eyebrows and pupils.
Make an O the Owl Puppet
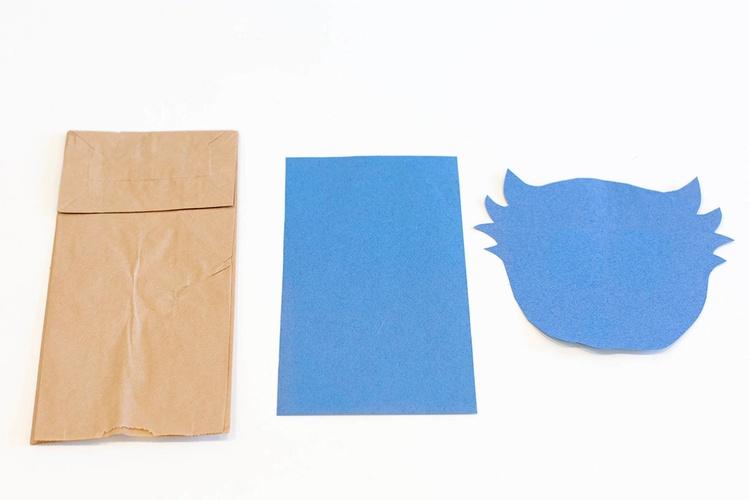
On the blue sheet of paper, draw O’s face, being sure to draw some feathers on either side of the head. Also draw a rectangle large enough to cover the lower portion of the bag under the flap. Cut out the shapes.
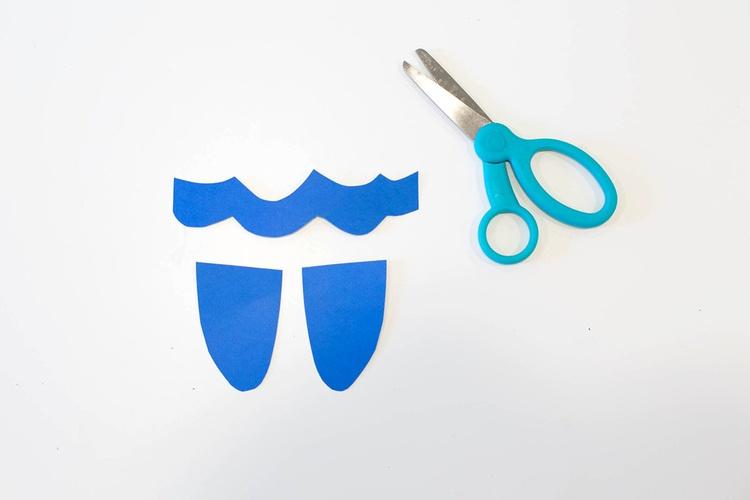
On the dark blue paper, draw a scalloped line the same width as the blue rectangle and two half ovals. Cut out the shapes.
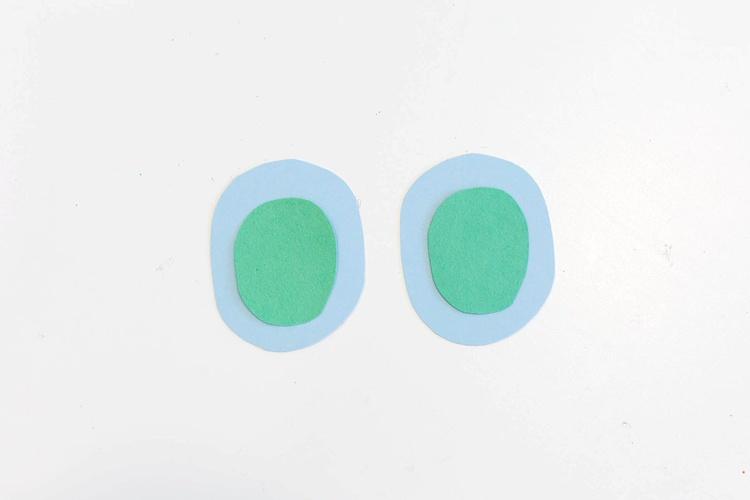
On the light blue paper, draw two large ovals for O’s eyes. Cut out the ovals.
On the green paper, draw two smaller ovals. Cut out the ovals.
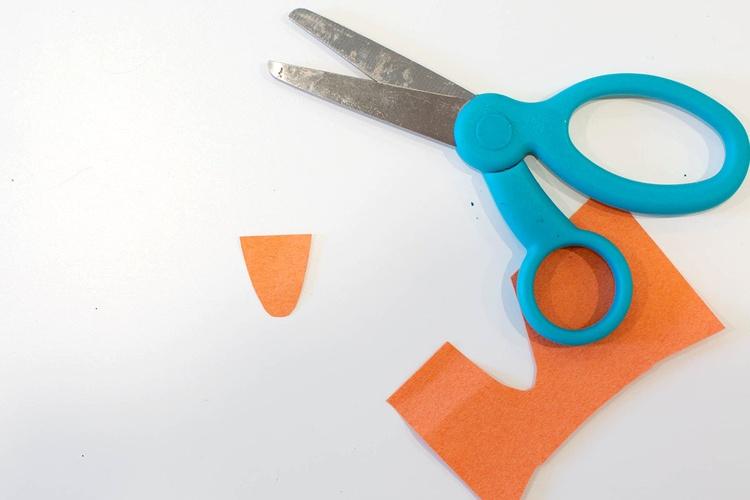
On the orange sheet of paper, draw a small rounded triangle. Cut out the shape.
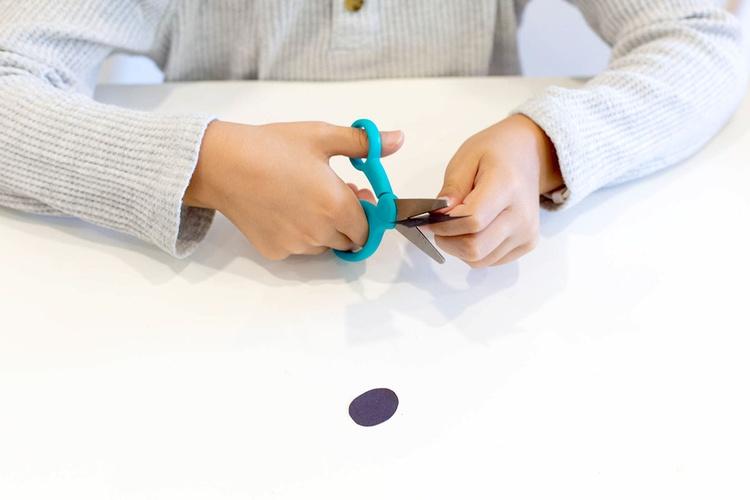
On the black sheet of paper, draw two small ovals. Cut out the ovals.
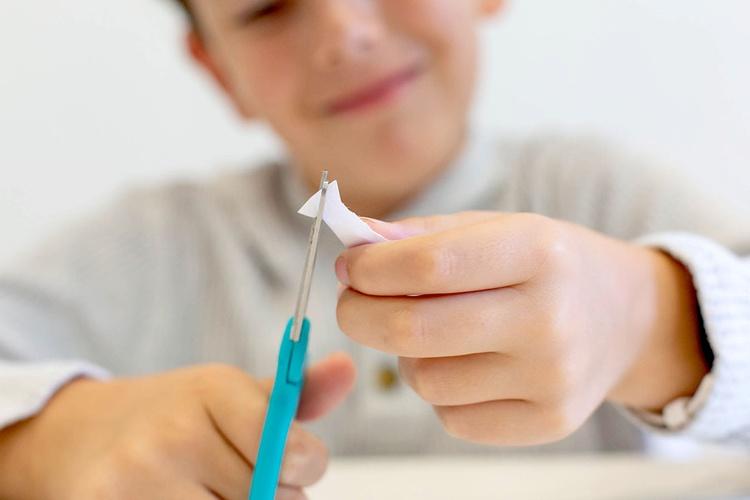
On the white sheet of paper, draw two small circles. Cut out the circles.
Glue these pieces together. Glue the blue rectangle to the lower portion of the bag behind the flap. Then glue the scalloped line and the two wings on top of that. Glue the face onto the flap of the paper bag. Glue the light blue ovals in the eye area, and the green ovals on top of the light blue ones. Glue on the beak.
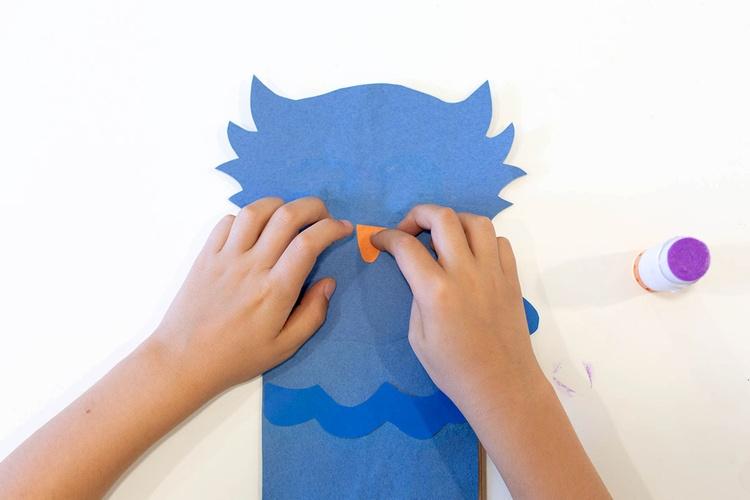
To create O’s pupils, glue the small black ovals to his eyes.
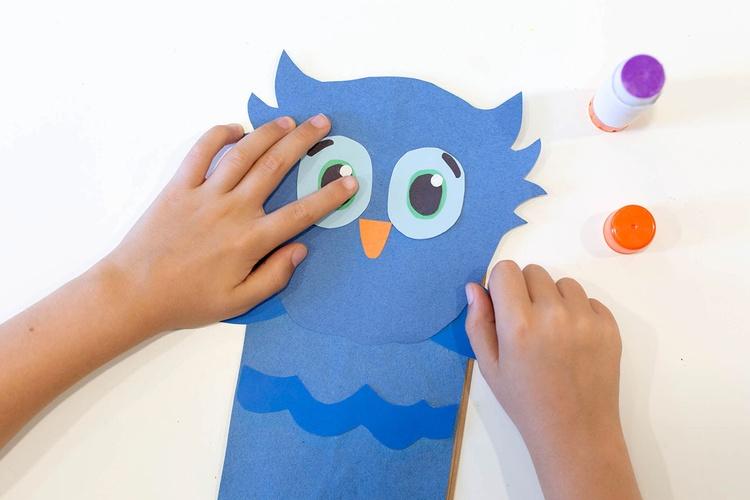
To make O’s eyes look like they’re sparkling, glue a tiny white circle of paper over the edge of the pupil on each eye.
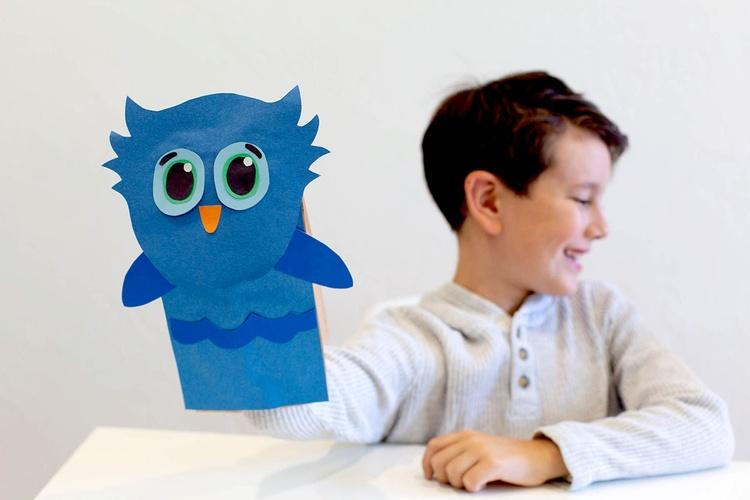
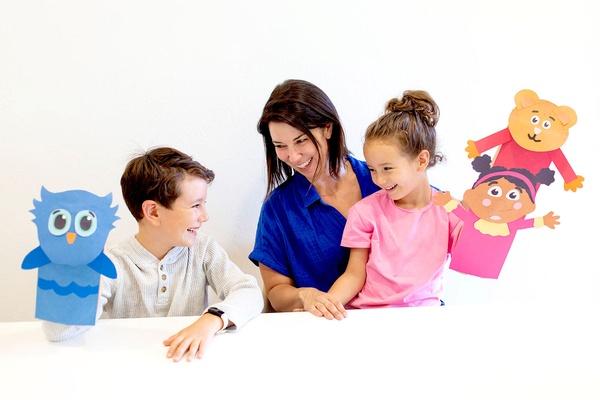
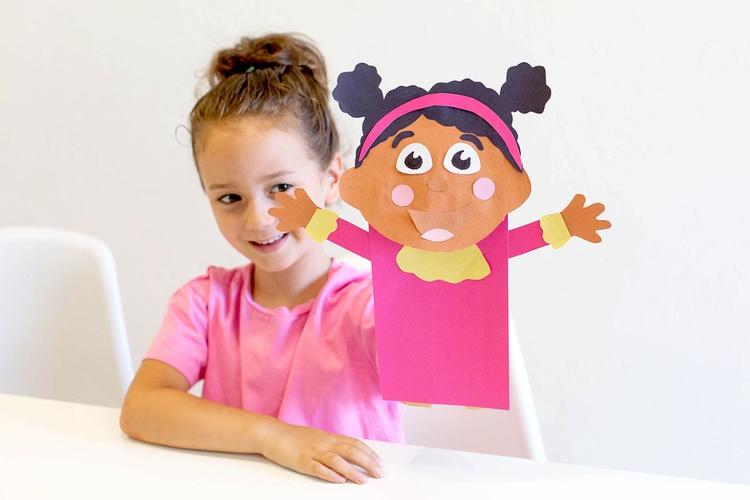
It’s time to play with your “Daniel Tiger’s Neighborhood” puppets!
Now that the puppets are completed, let your child’s imagination run wild!
Explore Further
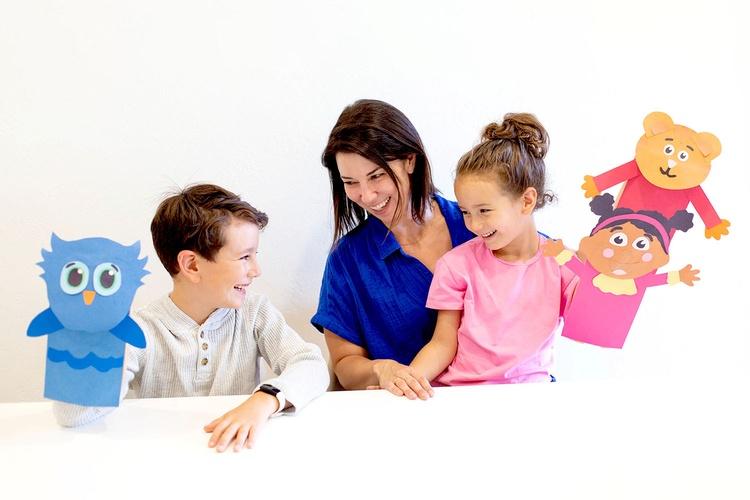
Keep the puppets nearby as your child enjoys watching a favorite episode of “Daniel Tiger’s Neighborhood.” Their puppets can sing and dance along with Daniel and all of his friends.
Want more “Daniel Tiger’s Neighborhood” activities? Check out Make a Book About Friends craft and the Pretend Play at Home activity to continue the fun!
 Author:
 - Activity Type
- Craft
- Topics