Make a Thaumatrope Toy
Materials
Directions
Print out the PDF template. Cut out circles A and B.

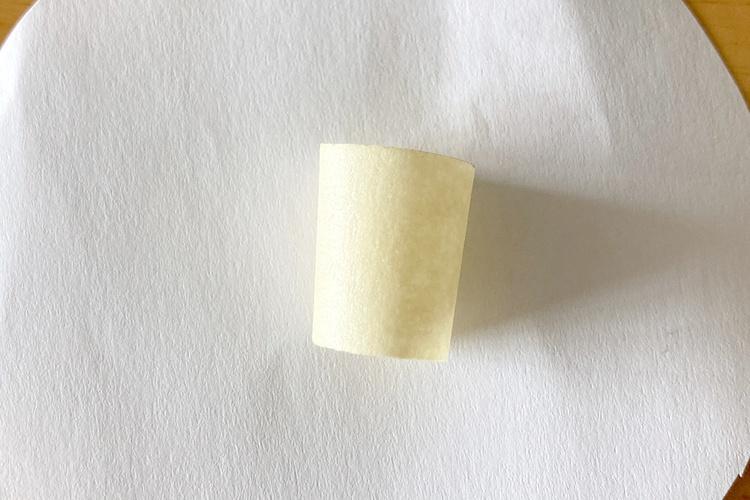
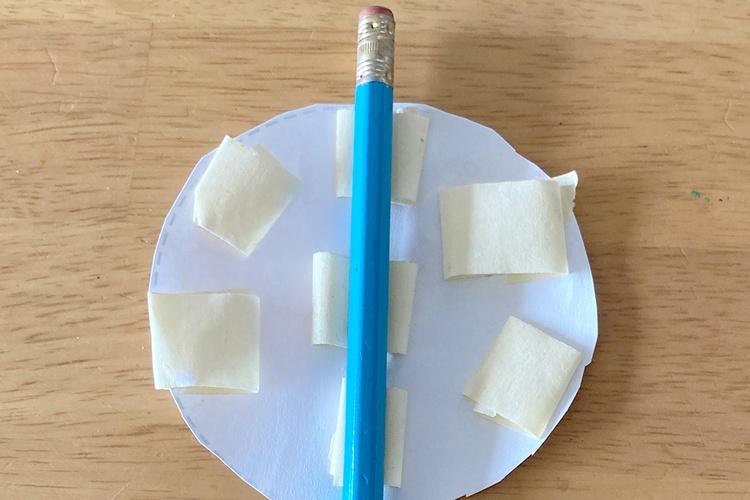
Cut out a piece of tape, about 1” long. and roll it into a small tube, so that the sticky side is on the outside. Press the tube onto the back of Side A, in the center of the circle.
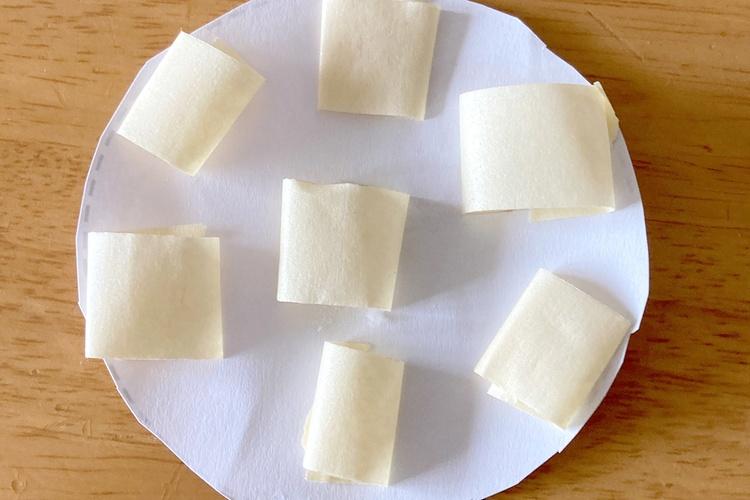
Add 6 more small tubes of tape onto the back of the circle, spreading them out along the edge.
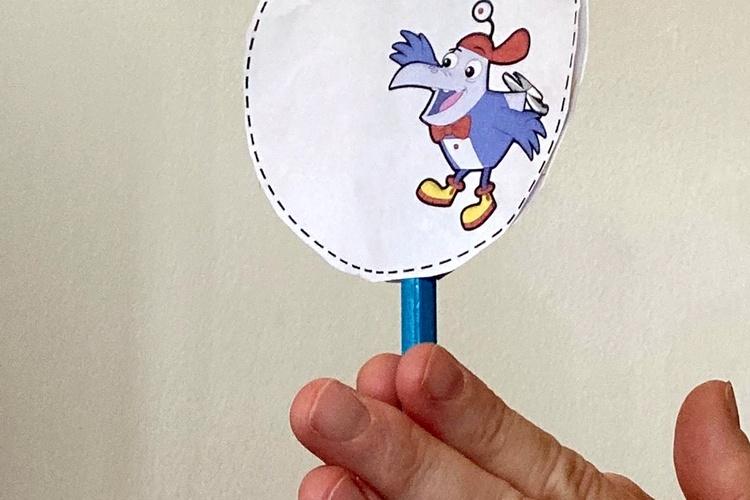
Place Side A so that the arrow is pointing up and put it face down onto a table. Press a pencil onto the tape on the back of Side A, in the center, so that the eraser end is close to the top and the point is at the bottom.
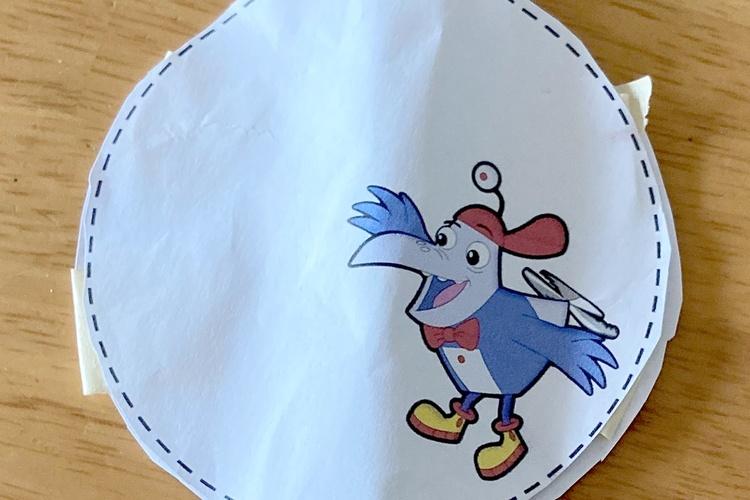
Place side B, with the arrow facing up, on top of the pencil and press the sides down so that they stick to the tape on the back of side A.
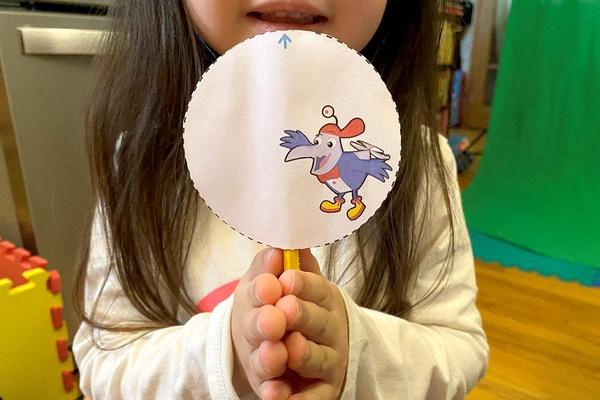
Your toy is ready! Put the pencil between your hands and spin it fast by rubbing your hands back and forth. The images should look like they are combined into one. Try the same thing with sides C and D or make a brand new thaumatrope with your own drawings.