Make an Ice Sculpture
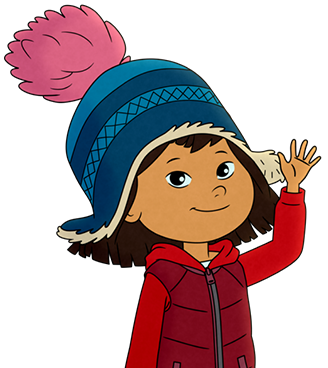
Molly is thrilled to discover that her mother knows how to carve ice sculptures, but she is disappointed when she finds that the temperature will be too warm for the upcoming ice sculpting competition. With a little curiosity, research, and creativity, Molly figures out a way to keep the competition going.
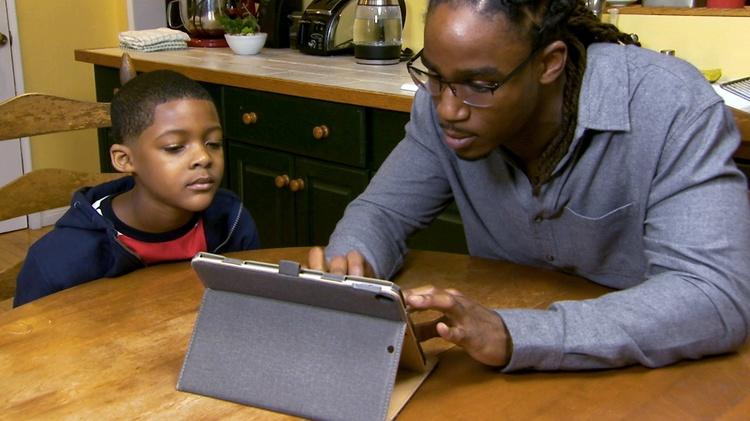
You and your child can join in the fun! As you make an ice sculpture, encourage your child to experiment with the ice and search online to find the answers.
- At what temperature does water freeze?
- How long does water take to freeze?
- Can water freeze in your neighborhood?
You can find lots of information about making ice on the Internet — sometimes too much! Help your child use specific search words as she searches to help narrow their research. Gather information and have fun exploring water and temperature!
Materials
Directions
Find out where and how water freezes. What can you find out together about the freezing point of water? Can you uncover a way to accelerate how water freezes? Search online to find out about ice and look at photos to inspire your ice sculpture.
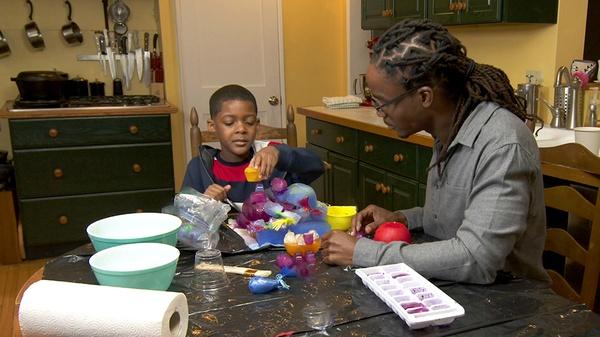
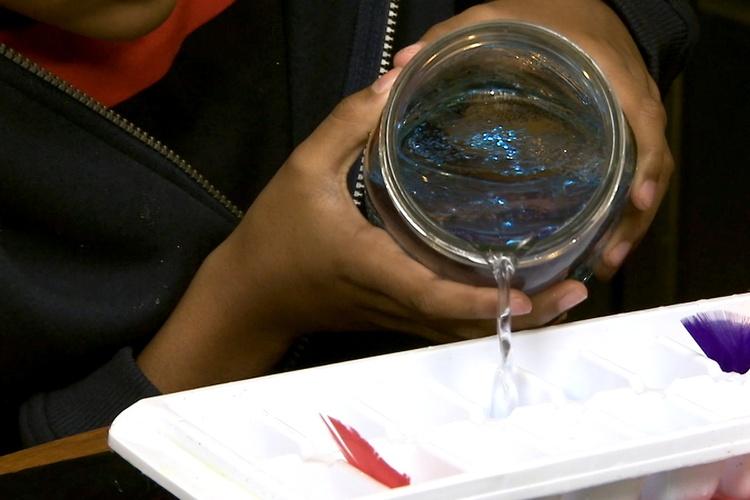
When you’re done with your research, gather the materials and begin making your sculpture. First, mix food coloring or glitter into the water. Help your child start to think about what your sculpture could look like using different materials.
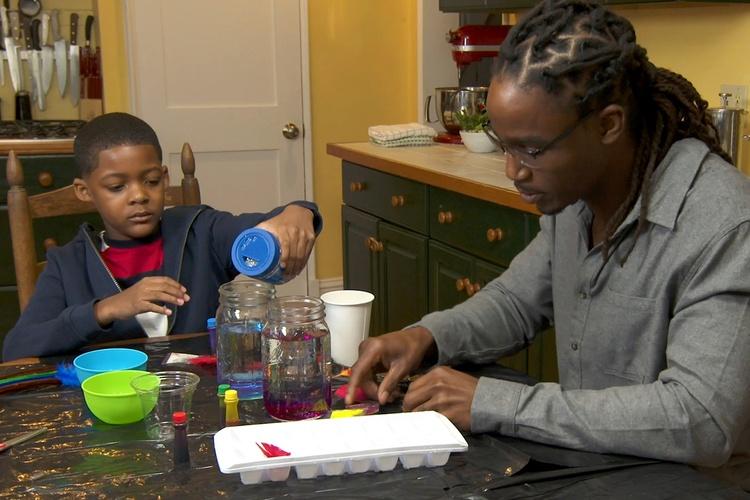
Pour the water into small containers. Add colorful paper, glitter or sprinkles to give the ice some texture.
Freeze the water! Place the containers inside your freezer or outside, depending on what you discovered from your research. Ask your child, “How long do you think it will take for the water to freeze?" Set a timer and see if your child guessed correctly. As you wait, encourage your child to sketch a design for the sculpture based on the shapes of the containers.
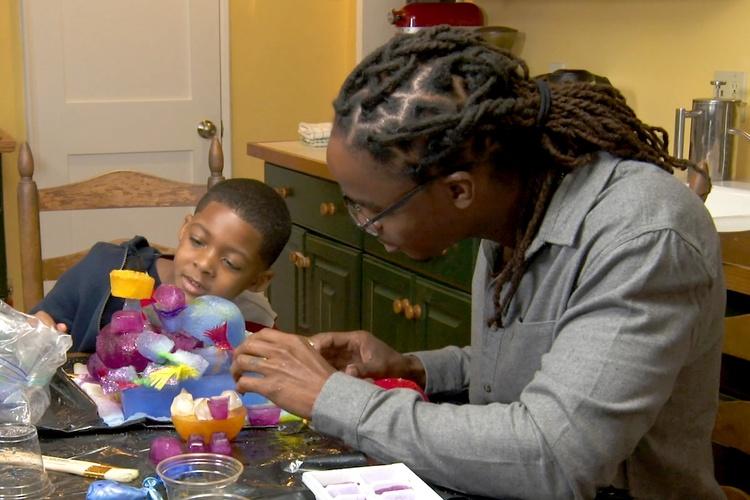
Once the water is frozen, remove the ice from the containers and arrange them as a sculpture. Attach the ice shapes together by sprinkling a little salt where you want them to connect. To really secure the shapes together, put the sculpture back in the freezer. Or allow the sculpture to melt as you continue to build on it!
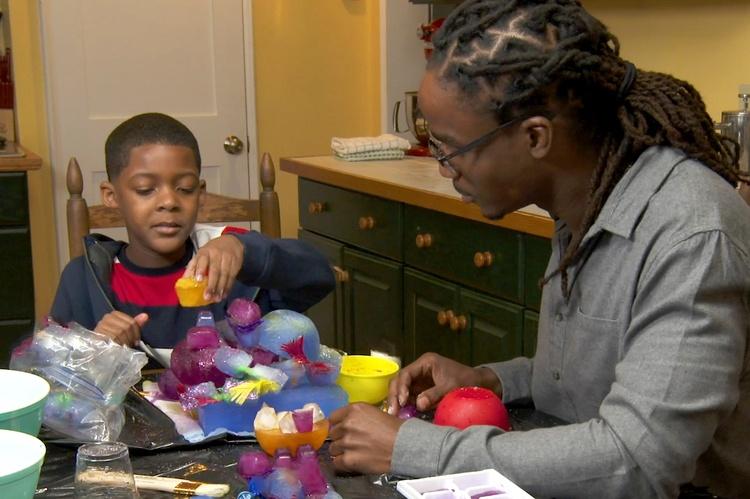
As you admire the sculpture together, ask your child, “How long do you think the sculpture will last before melting?” You can experiment with the ice or search on the Internet for more information.
N-ice job! You gathered information by reading online sources and used what you learned to make your very own ice sculpture.
Want more “Molly of Denali” activities? Check out the Make Spiced Oatmeal Muffins recipe and the Create a Yup’ik Dance Fan activity to continue the fun!
 Author: