No-Sew Daniel Tiger Costume
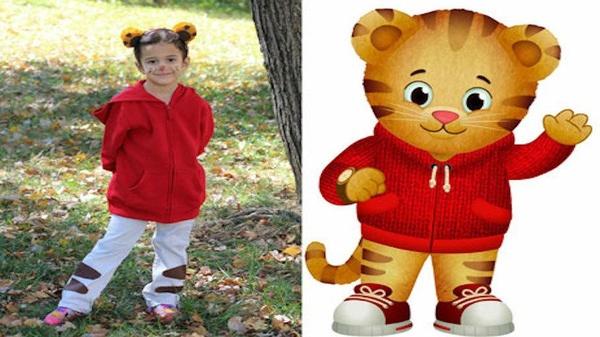
Have a GRRific Halloween with this easy-to-make and comfortable-to-wear Daniel Tiger costume.
Materials
Directions
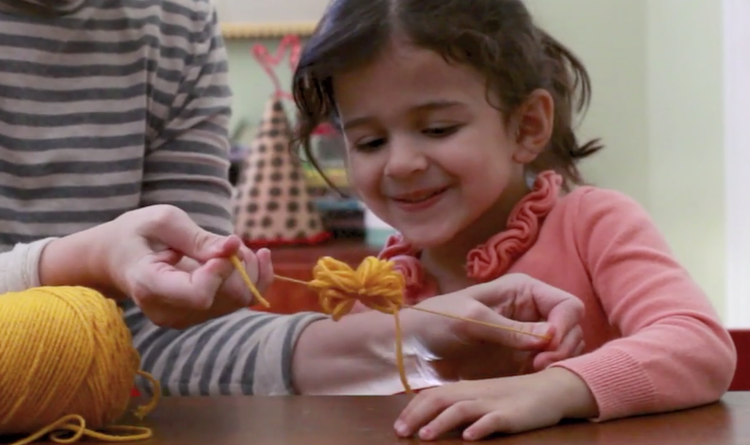
Gently wrap the yarn around your hand. Keep wrapping until you've formed a very thick loop of yarn.
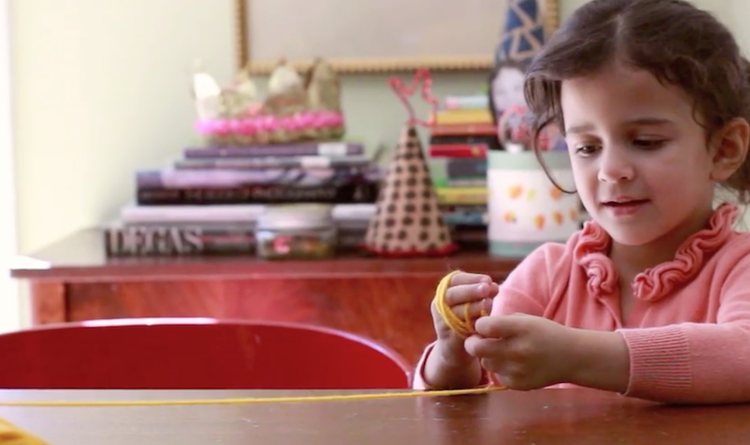
Remove the loop of yarn from your fingers. Tie a piece of yarn in the center of the looped yarn.
Using scissors, cut both sides of the looped ends to form a pom-pom.
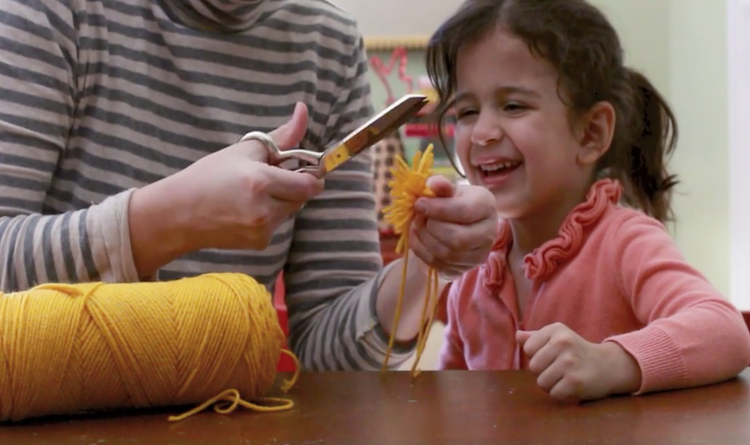
Trim as needed to make the pom-pom look thicker and more like a round puffball. Repeat the above steps to make the other ear.

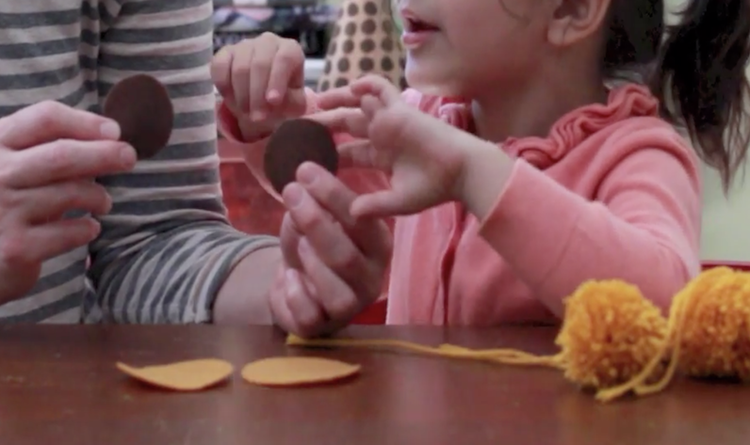
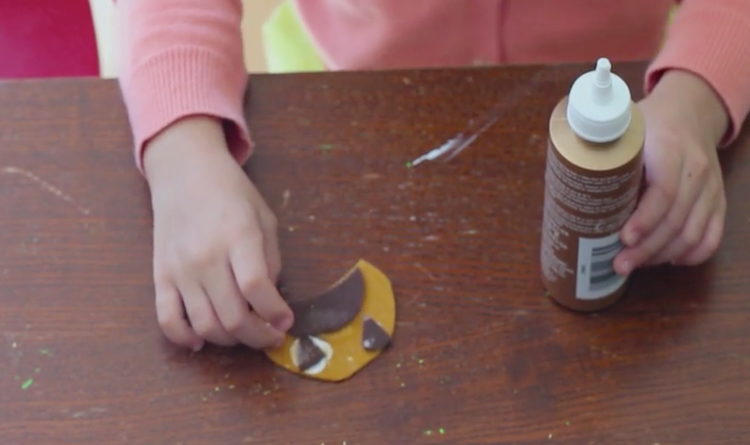
Cut out 4 felt circles. 2 of the circles should be higher brown and larger (at least 3 inches in diameter) and 2 should be smaller and dark brown (about 1 inch in diameter).
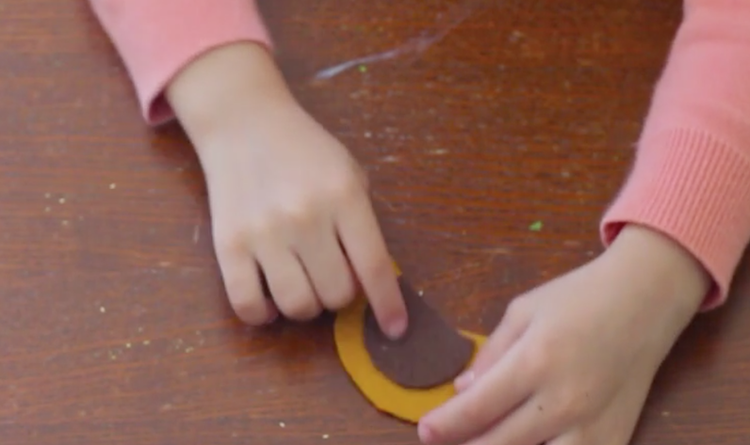
Glue the dark brown circle on top of the lighter brown circle. Cut the bottom into a curved semi-circle shape. Glue 2 brown stripes on the top. Repeat the process with the other 2 circles.
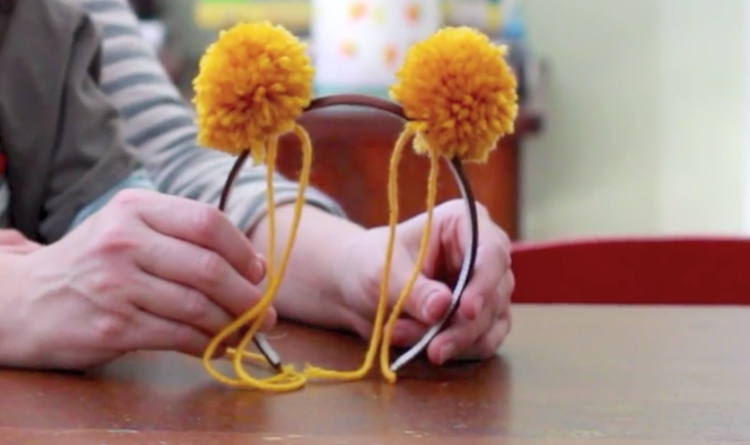
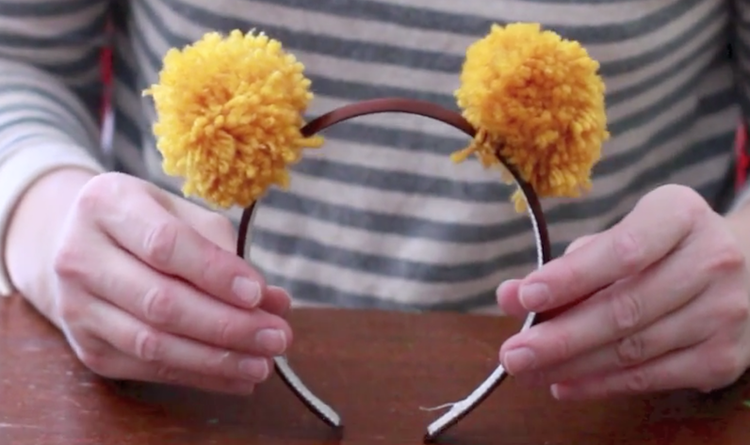
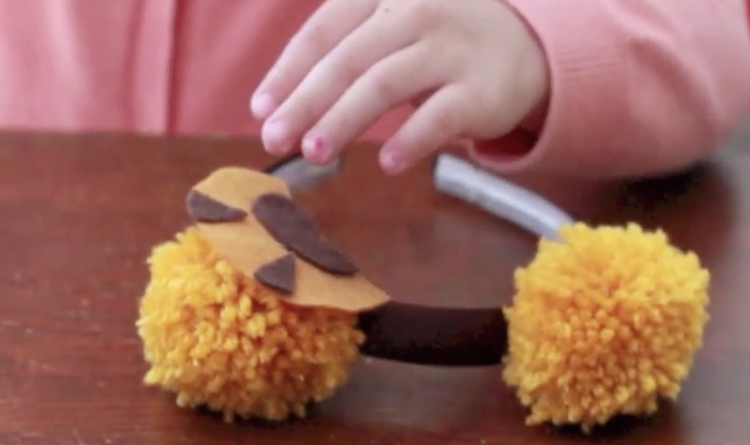
Tie the pom-poms to the headband for your Daniel ears. Trim the excess yarn and the hanging yarn strands. Glue a felt ear onto the front of each pom-pom.
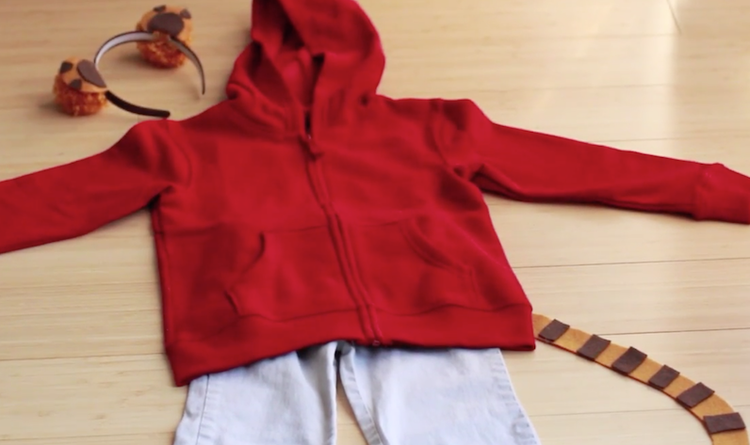
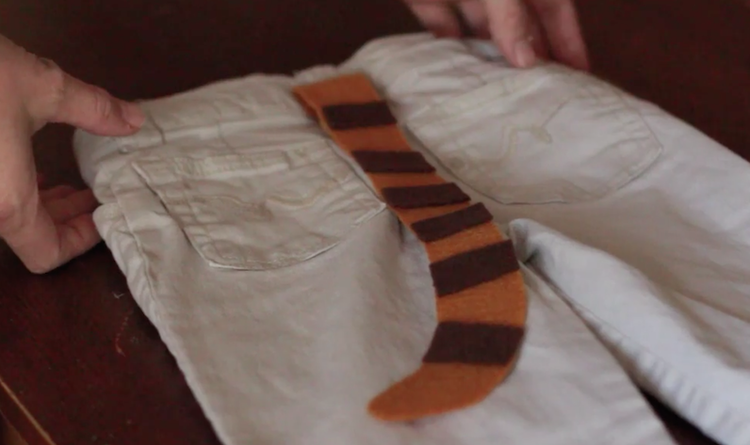
Cut out a tail from your light brown felt. Glue dark brown stripes on the tail. Safety-pin the felt tail to the back of the pants.
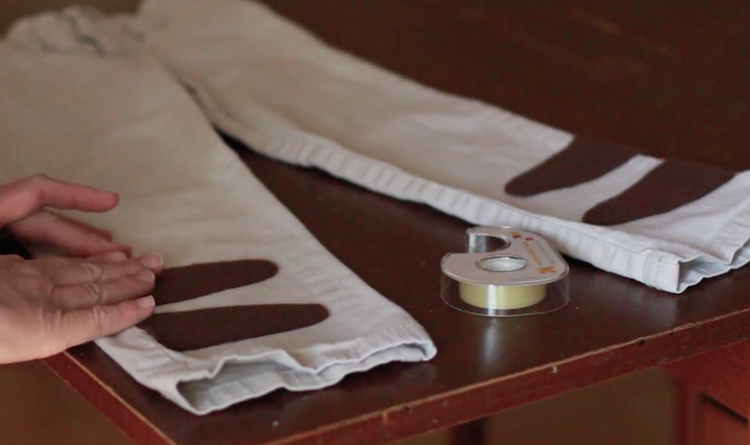
Cut out 4 stripes for the pant legs. Taper the stripes at the ends. Using double-sided tape, tape 2 stripes at the bottom of each pants leg.
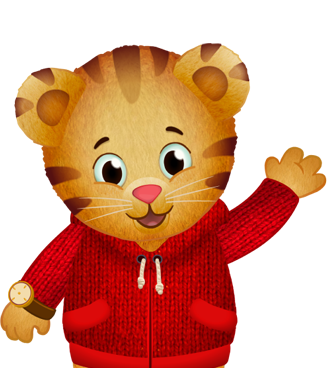
Put on the red sweatshirt. Finally, paint your child's face to give the costume a finishing touch. You can also print the Daniel Tiger face and use it as a mask!