Northern Lights Window Art

Molly’s friend Trini has never seen the Northern Lights. Living in Alaska makes it possible for Molly and Tooey to help their friend see the beautiful light show for the first time. They look in a book to find out that the Northern Lights, or Aurora Borealis, are formed when the sun emits solar flares. Some of the particles from the solar flares enter the Earth’s atmosphere which causes a light show that can be seen in Alaska and other areas near the North and South poles. Clouds, timing and location all play a part in whether or not they will see the lights, so the team makes sure to do their research. When Trini finally gets to see them, the show is beautiful.
You and your child can join in the adventure no matter where you live! Look online for information about the Northern Lights or go to your local library to look for information and pictures in books and encyclopedias. Then make your own beautiful window show.
Materials
Directions
Ask your child what they already know about the Northern Lights. Then watch the video from "Molly of Denali" or look at books or online resources together to learn more about the lights. What new information did your child learn? Ask your child questions, such as, "How are the lights created? Where can people see them? What do they look like?"

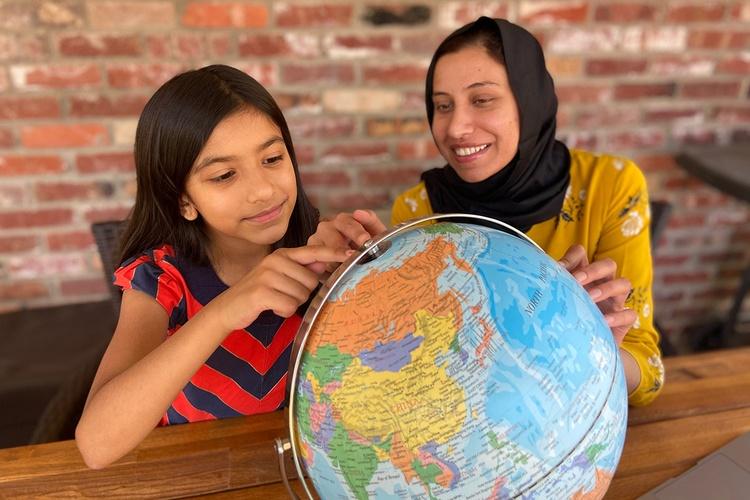
Next, investigate the Earth and its polar ends. Invite your child to use a map or a globe to point to the northern pole and to where you live. Ask your child, "Why are the Northern Lights visible so far north and not from other parts of the Earth? How long would it take you to travel to see them in person?"
Whether or not you and your child can see the Northern Lights, you can create your own version with some crayons, wax paper and imagination! Invite your child to choose two to three colored crayons that remind them of the Northern Light images you researched. With your help and supervision, remove the paper covering on the crayons.

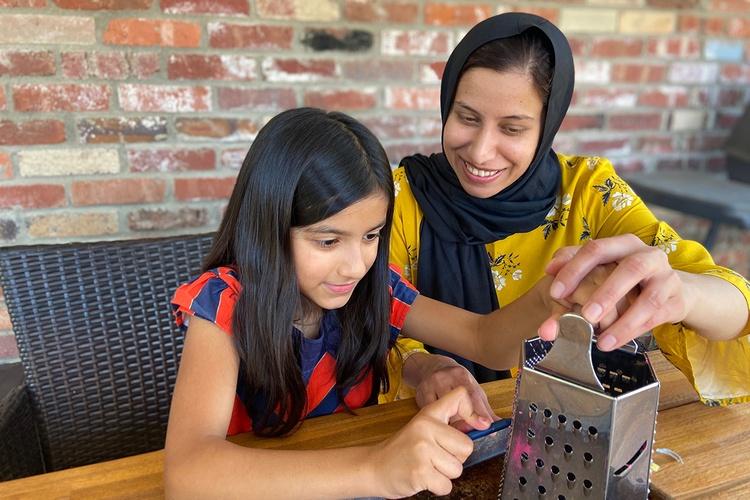
Take the cheese grater and carefully help your child grate or shred the crayons into tiny bits. Keep the colors separate, as they will be used to create your Northern Lights.
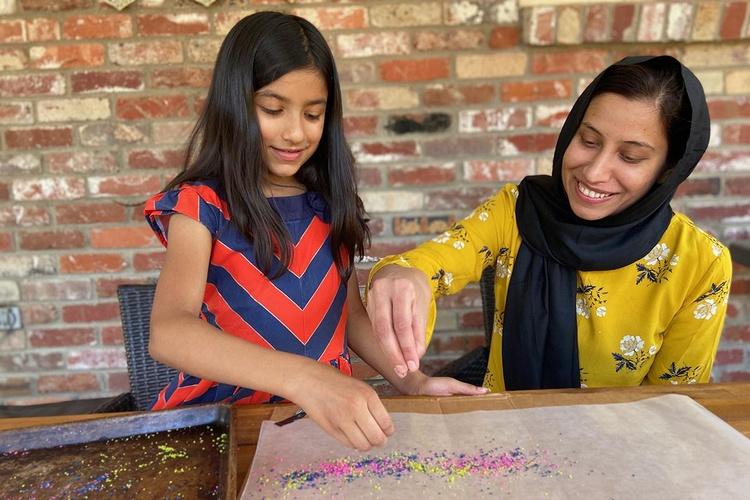
Tape a large piece of wax paper on thick cardboard or other heat resistant material for ironing — you’ll be using a hot iron on this later. Using images of the Northern Lights as examples, invite your child to sprinkle the colors on half of the wax paper to mimic the light show.
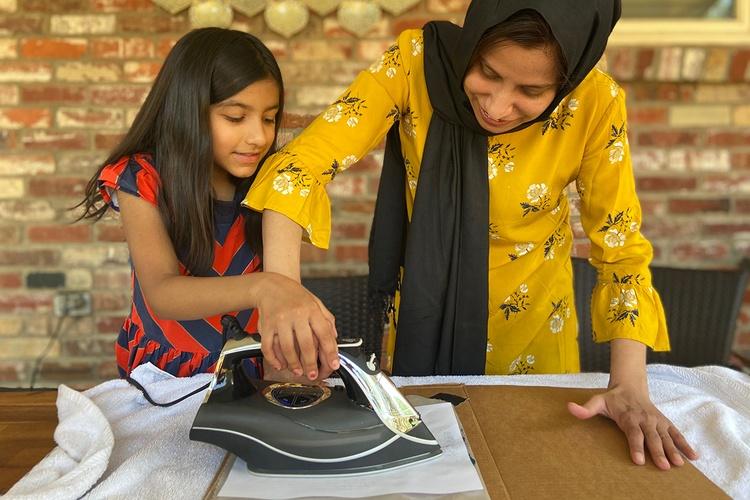
When finished, carefully fold the other half of the wax paper on top of the sprinkled art. Place a piece of paper on top of the artwork, to collect the extra oil and protect your iron. If you want, add tape to secure paper. Run an iron — set to low heat — over the wax art until melted. This will only take a few seconds.
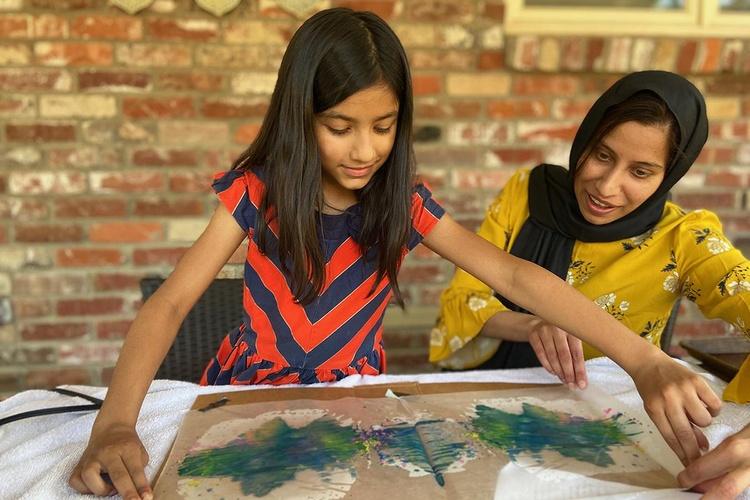
Remove taped paper and gently unfold top wax paper layer.
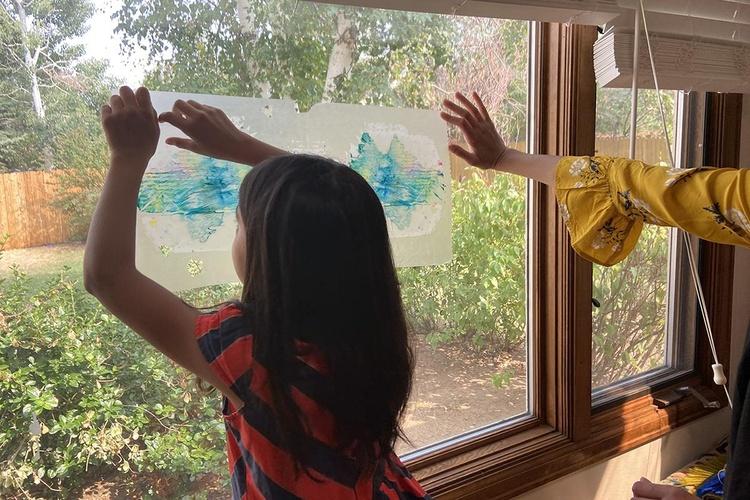
Hang your art from any window — preferably a north-facing one! Enjoy your Northern Lights display all day and into the evening.
Want more “Molly of Denali” activities? Check out the Make Spiced Oatmeal Muffins recipe and the Make an Audio Message That Matters activity to continue the fun!
 Author: