
St. Patrick's Day Badges


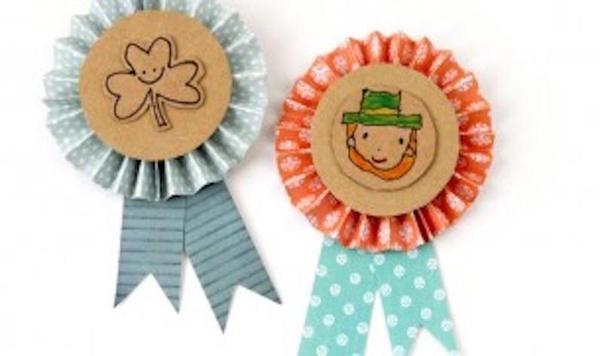
With just a sheet of paper, pieces of cardboard and a safety pin, your little one will be stepping out in style for St. Patrick's Day!
Materials
Directions
Cut two rectangles of the same color/pattern paper, and two thin strips of a contrasting color/pattern for the ribbons.
Accordion fold two strips of the paper. Next, fold each strip in half and glue the edge together to create a semi-circle. Then glue the two straight edges of the semi-circles together, creating a full circle.
Cut out one thin cardboard disc and glue it to the face of the badge.
On a second cardboard disc, draw your character or design and glue it to the front.
Cut two ribbon edge strips of paper and glue them to the back of the badge. Cover with a circle of white paper.
Glue a safety pin to the back of the circle in the center. Allow to dry.
This badge tutorial could easily be replicated for birthdays, sporting events or other parties by changing the characters illustrated on the discs. Enjoy!
Michelle McInerney, Irish mum to one little girl called Molly, is the founder and craft designer behind award winning blog, Molly Moo Crafts, which is a fun and colorful online world of unique crafts for children. Michelle's favorite areas of exploration are paper mache, paper craft, wool, felt and recycled craft.
 Arts
Arts