
Craft in America explores the vitality, history and significance of the craft movement in the United States and its impact on our nation's rich cultural heritage. Capturing the beauty, creativity and originality of craftsmanship, the film highlights artists and explores the inter-relationship of what they do, how they do it and why they have chosen a life of creating art.
Providing Support for PBS.org
Learn Moreabout PBS online sponsorshipProviding Support for PBS.org
Learn Moreabout PBS online sponsorshipHow to Watch Craft in America
Craft in America is available to stream on pbs.org and the free PBS App, available on iPhone, Apple TV, Android TV, Android smartphones, Amazon Fire TV, Amazon Fire Tablet, Roku, Samsung Smart TV, LG TV, and Vizio.
Buy Now
About Craft in America
CRAFT IN AMERICA, the Peabody Award-winning series on PBS, explores America’s creative spirit through the language and traditions of the handmade. With 37 shows produced since 2007, the series takes viewers on a journey to the artists, origins and techniques of American craft. Each episode contains stories from diverse regions and cultures, blending history with living practice and exploring issues of identity, ritual, philosophy and creative expression.
Craft in America is a Los Angeles-based nonprofit arts organization founded in 2004 with the mission to promote and advance original handcrafted work.
In addition to the series, Craft in America’s organizational efforts include its extensive website, a YouTube channel, multi-disciplinary educator guides that adhere to national standards, and the Craft in America Center in Los Angeles, which presents exhibitions, talks by artists and scholars, workshops, and K-12 school tours. All of Craft in America’s multimedia educational content is provided to the public at no charge.
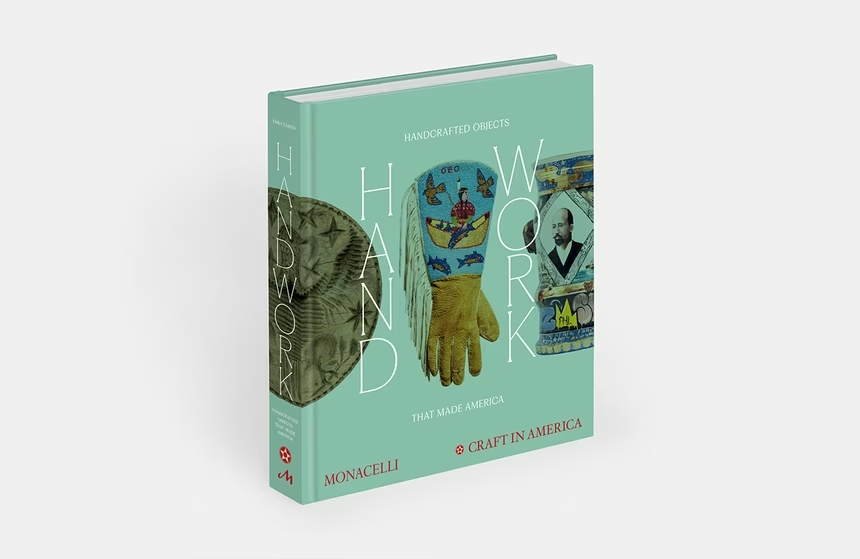
Handwork: Handcrafted Objects book
An engaging and essential portrait of America through surprising, overlooked, everyday, and iconic handmade objects crafted over more than 250 years.
Potter Sergio Youngblood Lugo featured in the new SCIENCE episode
1/4
Denise Kang photo

Ceramic artist Joan Takayama-Ogawa featured in the new SCIENCE episode
2/4
Denise Kang

Artist Carolyn Mazloomi featured in the new COLLECTORS episode
3/4
Denise Kang

Sculptor Norm Sartorius featured in the new COLLECTORS episode
4/4
Denise Kang


- Arts and Music
The Best of the Joy of Painting with Bob Ross
A pop icon, Bob Ross offers soothing words of wisdom as he paints captivating landscapes.


 New Episode
 New Episode


 New Episode
Support for PBS provided by: